When it comes to a scale appearance, there’s nothing better than an injection-molded body, which is often referred to as a “hard body.” The details are crisp, and it’s something that can never be matched by Lexan. There aren’t too many injection-molded bodies out there due to the cost required to produce them and the fact that heavy weight isn’t ideal for most RC cars. However, when it comes to trail rigs or other vehicles that you want to be as scale as possible, they’re the way to go. Another great feature of injection-molded bodies is that you can easily cut them up and modify them to have the exact look you want. With a few simple techniques, you can update the look of any injection-molded body out there. I recently turned a single-cab Tamiya Ford F-350 body into a crew cab for a Monster Jam BroDozer replica that I’m building, and I’m going to take you through the steps it took me to get to the final product. Read on, take some notes, and get ready to modify your injection-molded body and make it your own.
STEP 1
If, like me, you’re planning on making a crew-cab body, you’ll need to get your hands on two bodies. You’ll be cutting off the back of one body and the front of another, eventually joining them back together. Cut off the back of the first body, making your cut just before the area where it curves around to the back. After giving the body a rough markup to come up with my plan, I set pair of calipers to 0.20 inch and used them to mark the cut point on the body, using the existing door gap as a guide. Before you cut up the second body, you’ll need to decide how wide you want the rear door to be. Once you figure that out, set the length on your calipers and use the rear door gap as your guide to mark up the front side of the door.
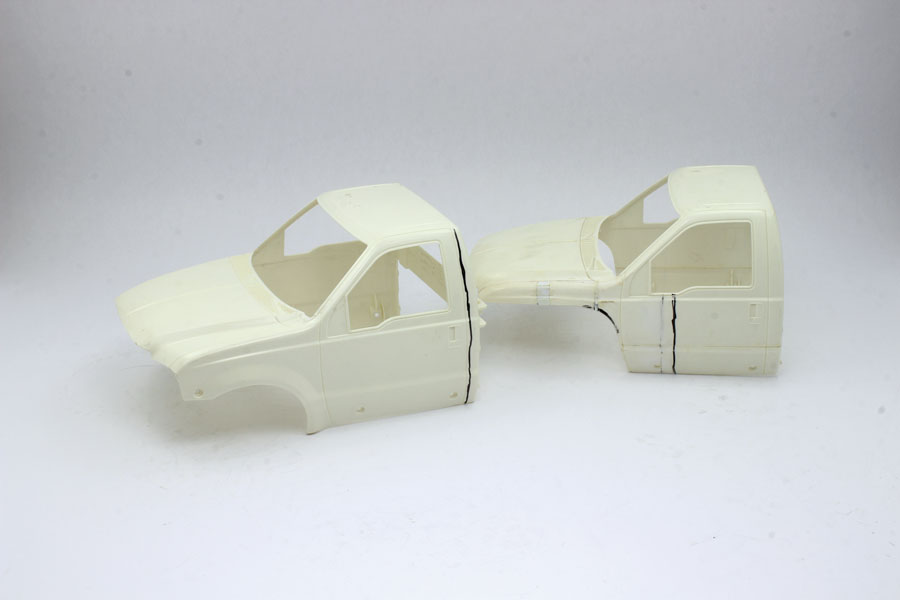
I used two bodies to make my crew cab and gave them a rough markup so that I could come up with a game plan.
STEP 2
Apply the tape over the sides and roof as a cutting guide. With the tape applied, you can cut off the back of the first body and the front of the second. Don’t forget to cut the pillar anywhere on the second body so that you can get the front separated from the rear.
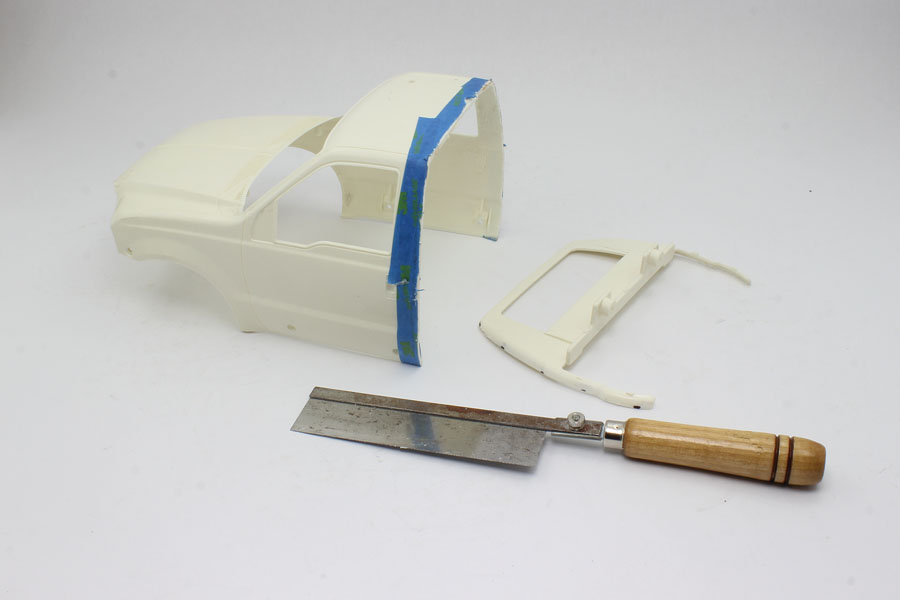
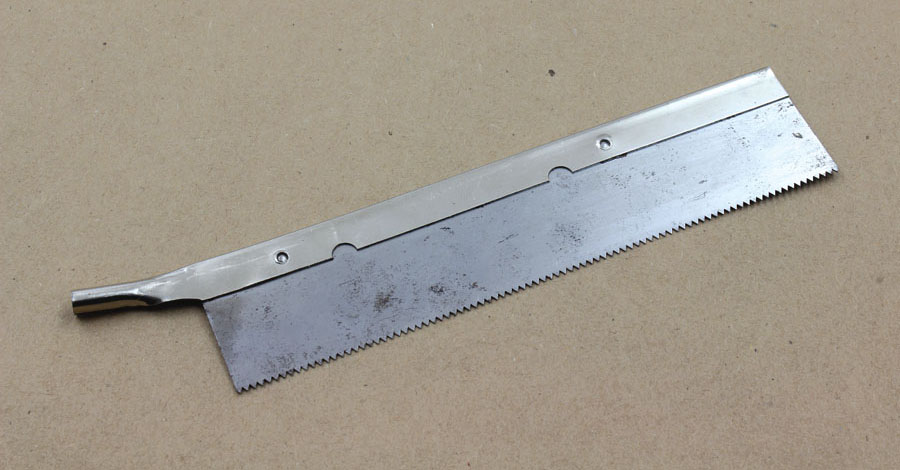
A razor saw does quick work and provides a nice straight cut line.
STEP 3
Once the bodies were cut, I gave the area a quick sanding using a 100-grit sanding stick to get the area as flat as possible. I then lined up the two bodies and used a small clamp on each side to hold them together. I applied a few drops of glue along the joint on each side of the clamp, and after minute, I removed the clamps and ran more glue along the joint to finish it up. Once the glue on the outside dried, I applied more glue on the same joint on the inside of the body.
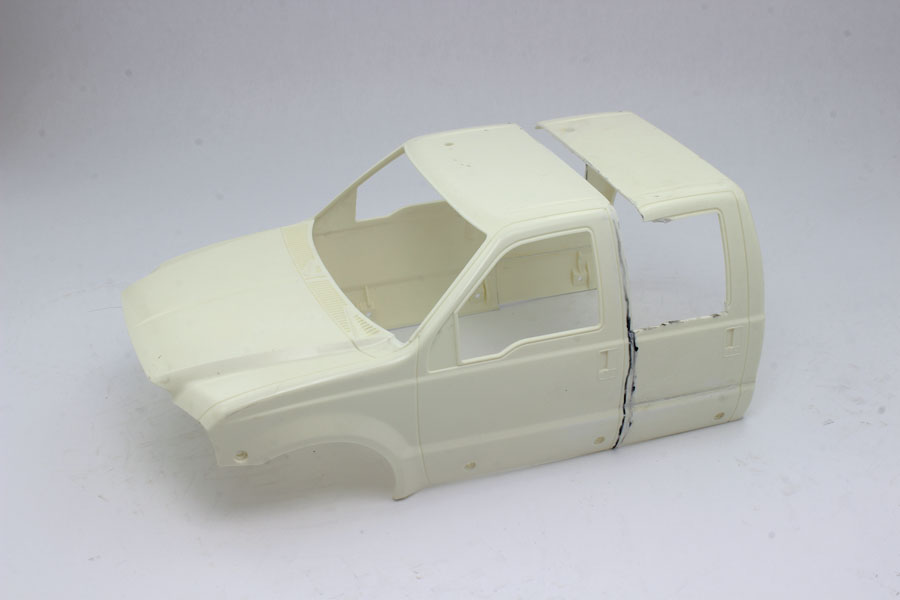
CA glue was used to attach the two bodies together after lining them up and clamping them together.
STEP 4
Most roofs curve gently down toward the windshield, so you’ll find the roof of the back body doesn’t line up with the other. You can fix this by cutting off most of the rear roof, then using a large piece of 0.080-inch-thick plastic to fill the gap. I decided to use as much of the stock roof as possible. I cut off the windshield area of the back body and got the area as straight as I could, and I used a pair of heavy-duty scissors to make a straight cut. My plan was to make a cut across the roof and reglue that piece, but after making about a 2-inch cut in from each side, I was able to bend the roof up a bit and make it line up with the other roof.
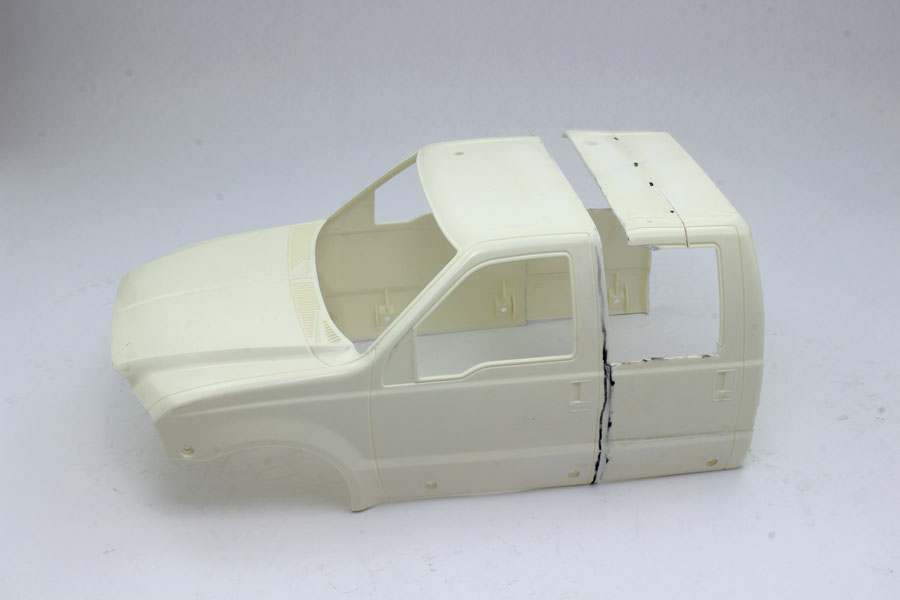
Some cuts along the roof allowed me to give it a bend to get it to match the roofline of the front body.
STEP 5
With the two roofs lined up, it was time to fill in the gap between the two. I measured the gap distance with a pair of calipers and used that dimension to cut my strip of 0.080-inch-thick plastic. The body curves down on each side, so I cut the filler piece of plastic to end before the curves. After some sanding in a few areas, the filler piece fit perfectly and was ready to be clamped and glued in place. The curved sides of the roof were taken care of by cutting a few 0.100-inch strips of plastic and gluing them in place, one piece at a time, along the curve. In the end, they form a jagged curve, but once the glue dried, I was able to use a 100-grit sanding stick to smooth out the plastic and glue.
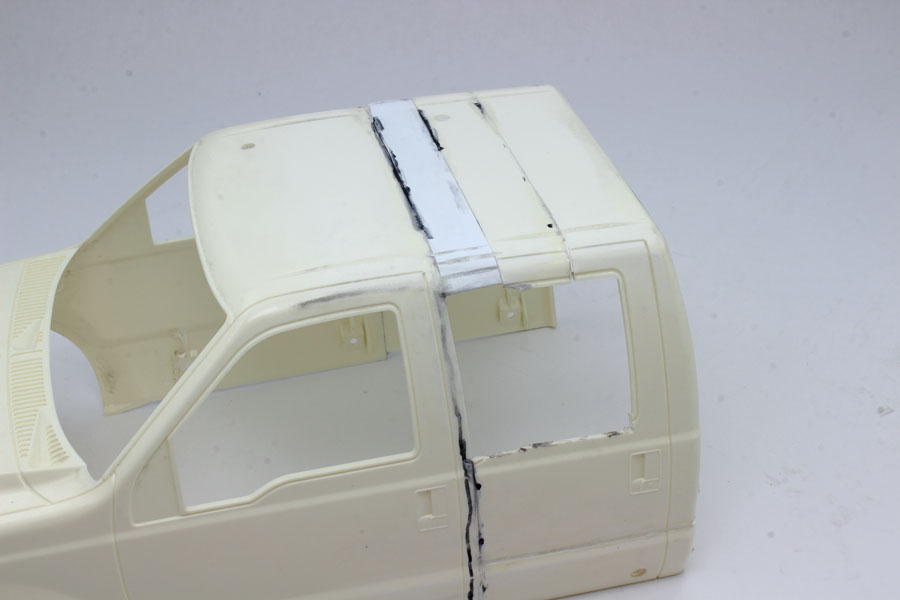
The filler piece was attached to the center, then small strips were used to match the curve of the body on the sides.
STEP 6
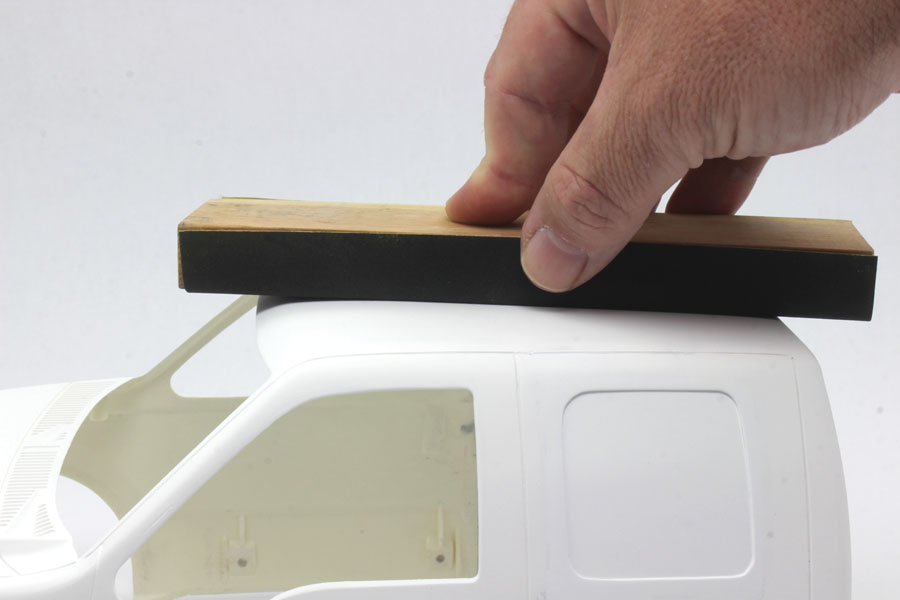
Before applying the filler, I took a 7-inch-long 3/4 x 1/2-inch block with a piece of 150-grit sandpaper wrapped around it to give the roof a rough sanding to level out the glue and plastic as much as possible. I then applied filler to the roof with a plastic spreader and allowed it to dry for two days. I also applied filler down the sides, along the rear-window area, to clean that up. I grabbed my wood bock and 400-grit paper and used that to flatten out the filler and tie the two bodies together.
STEP 7
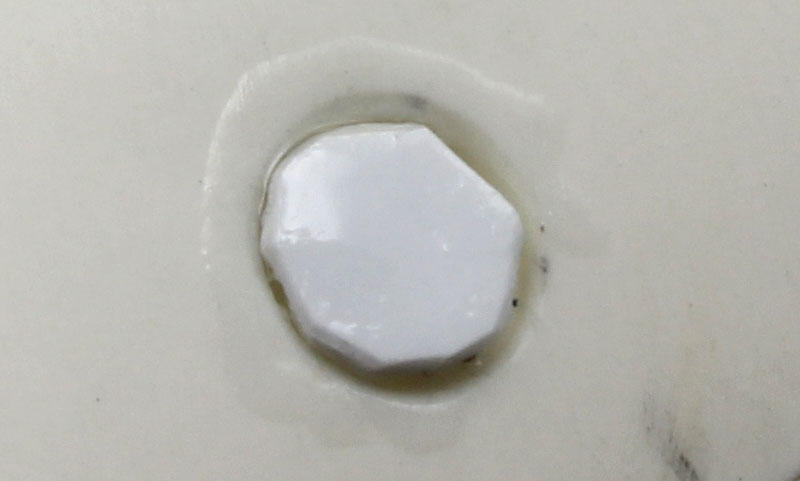
Since I won’t be using the original mounting holes on the bottom of the body, I filled them by cutting 0.080-inch-thick plastic into small discs and gluing them into the holes. Once the glue dried, I used a 100-grit sanding stick to contour the pieces until they matched the curve of the body. The body that I’m replicating doesn’t have door handles, so I ground the ones off my body down the handles and used thin pieces of plastic and glue to fill in the small indentations that were left. I applied Tamiya filler over the filled mounting holes, the door-handle areas, and the joint where the sides of the body came together.
STEP 8
The rear-side-window area was pretty rough, but it was easy to clean up. I applied tape to the edges of the opening and marked the plastic to be sanded using a marker. After I took off the tape, I did some sanding using a rotary tool and sanding drum and a 100-grit sanding stick until most of the black marker was removed.
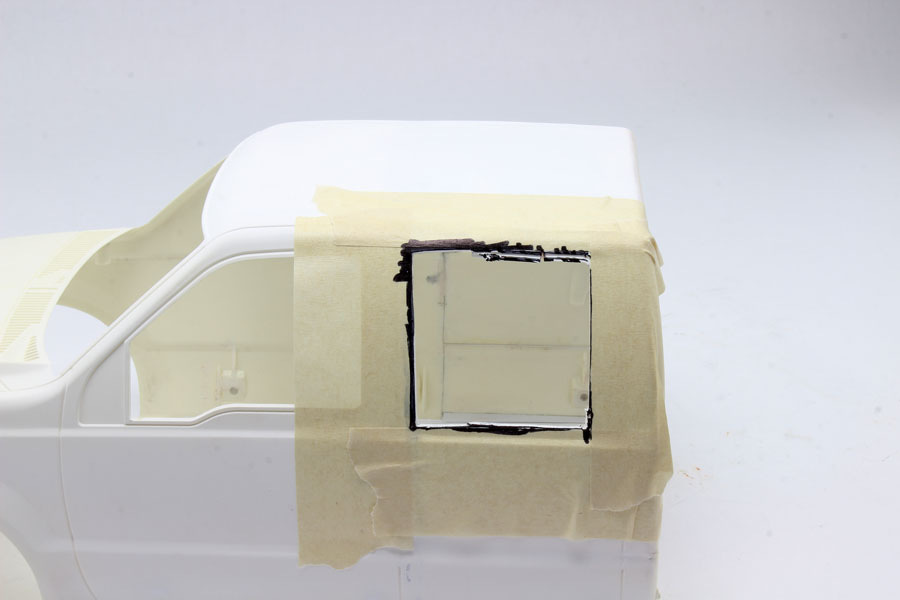
I used tape and a black marker to show how much material to remove to straighten out the rear-window area.
STEP 9
In order to create a clean window opening, I first had to patch the rough opening with a 0.040 panel. I cut a rough piece of plastic that was slightly larger than the opening and curved it to match the body by forming it with my fingers. I held the plate inside of the body and marked the opening on it using a pencil. I then cut away the outside of the patch using scissors just outside that line, and used a medium-grit sanding stick to fine-tune it.
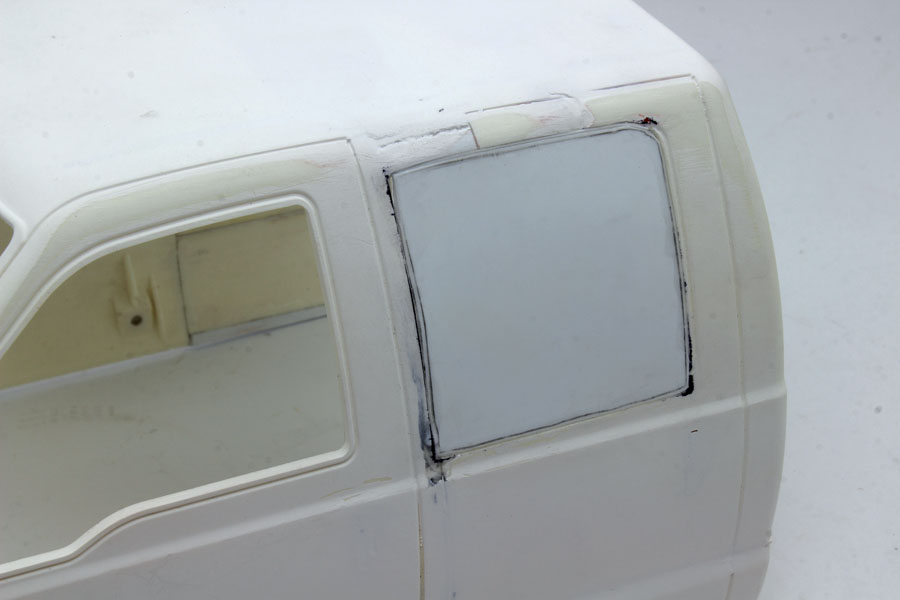
The patch panel is in place and has a perfect fit.
STEP 10
Once I figured out where I wanted the window to be and how big I wanted it, I used tape to mark off the area and give me a straight guideline. I gave the middle of the area a rough cut using scissors, then moved to a rotary tool with a 1/2-inch sanding drum to clean up the areas near the tape. I made another pass in the corners with a smaller 1/4-inch sanding drum to get the radius in the corners a little tighter. I used a 100-grit sanding stick to smooth things out before removing the tape. I used 400-grit sandpaper to round over the opening and give it more of a scale look. Some filler work was done to clean up the areas around the window patch before moving on to the next step.
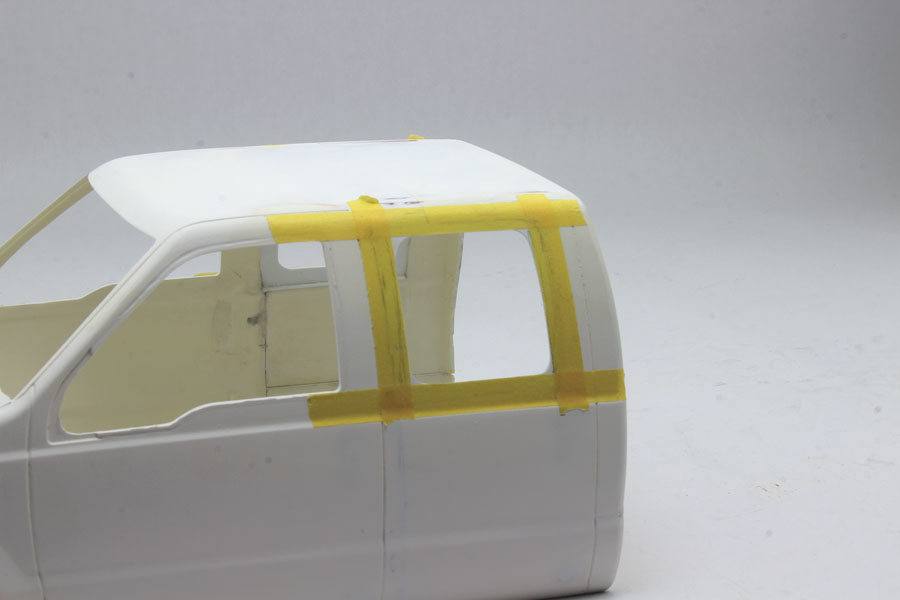
Strips of tape created a straight edge to follow, and sanding drums in a rotary tool opened up the window.
STEP 11
The window opening that I’m replicating is on a fiberglass body, and it has a simple indentation that has a black square painted on it to replicate a window. I gave my body a similar look by gluing in a piece of 0.040-inch-thick plastic to cover the rear-window opening. If you’re going for the look of an actual window on your body, use a piece of Lexan instead; make sure you use a clear-drying adhesive to attach it so that you don’t have any issues with fogging, which is something that can happen when you use CA glue.
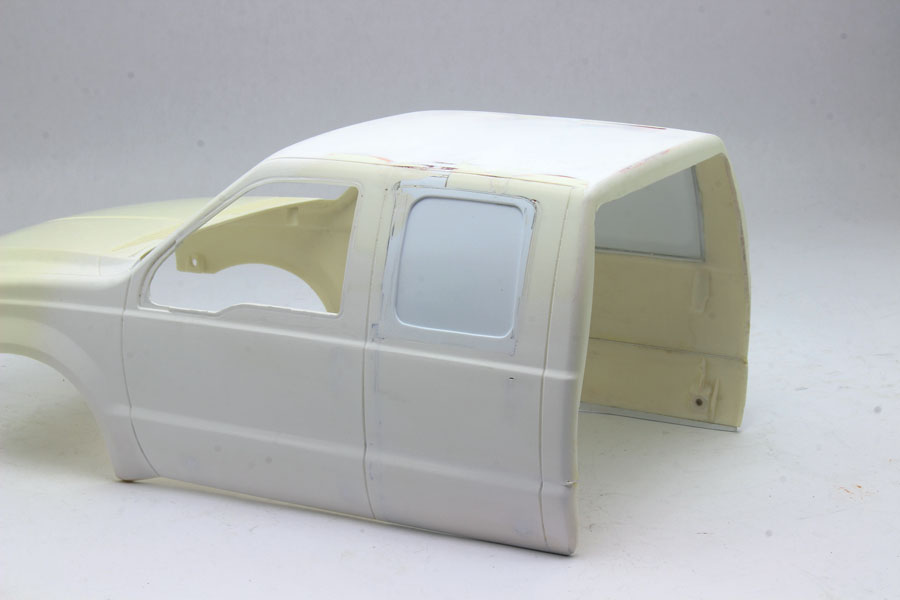
A piece of 0.040-inch-thick plastic covers the opening to make my body look more like the fiberglass one I’m replicating.
STEP 12
The fiberglass body I’m replicating doesn’t have trim around the windshield or side windows, so those details had to go. I sanded off the front trim using a 100-grit sanding stick, and I filled most of the trim around the side windows with Tamiya Putty. The side windows have a small piece of plastic toward the front, where the mirrors are attached, and that doesn’t match the look that I’m going for, so it had to go. Using a 1/2-inch sanding drum, I gave the area a rough sanding, but after comparing the side windows on my truck with the ones on the BroDozer body, I saw that the rough opening that I made at the front of the side window wasn’t correct. So I used a small piece of 0.040-inch-thick plastic to patch up the corner, which also raised the edges slightly to match the rest of the window. I then applied tape and again used it as a guide to sand the area using a 1/2-inch sanding drum, followed by a 1/4-inch sanding drum, to get the radius correct.
FINAL WORD
Congratulations! You’ve successfully turned two standard cab bodies into one sweet crew cab. With all the major work out of the way, you can spend time with a little Tamiya putty and primer to get the body 100 percent perfect and ready for paint. Everything you saw here can be used to modify any injection-molded body or other injection-molded plastic parts. This isn’t the end for this body. I’m going to be making a custom dovetailed hood and a dovetailed bed section to end up with the sweetest BroDozer body ever.
Razor-Saw Cutting
I like to use a razor saw to cut up my bodies because it’s easy to control and doesn’t remove too much material. You can use a piece of tape as a cutting guide. Simply put the razor saw against the edge and lightly score the plastic along it. Once you get a deep-enough cut, you can get more aggressive with the saw.
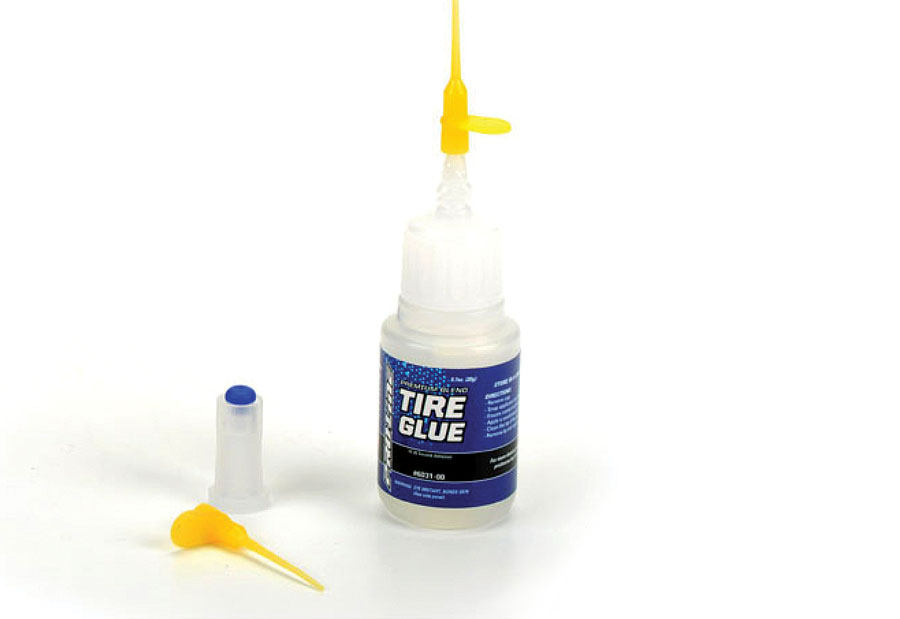
CA Glue Is Your Friend
You can use glue designed for model-car bodies for this job, but you have to go back and reinforce the joints in the inside of the body to give it enough strength. These days, I prefer to use medium CA glue because it cures faster, gives you a stronger joint, and is able to fill in any small gaps that you may have in the joint.
Body Filler 101
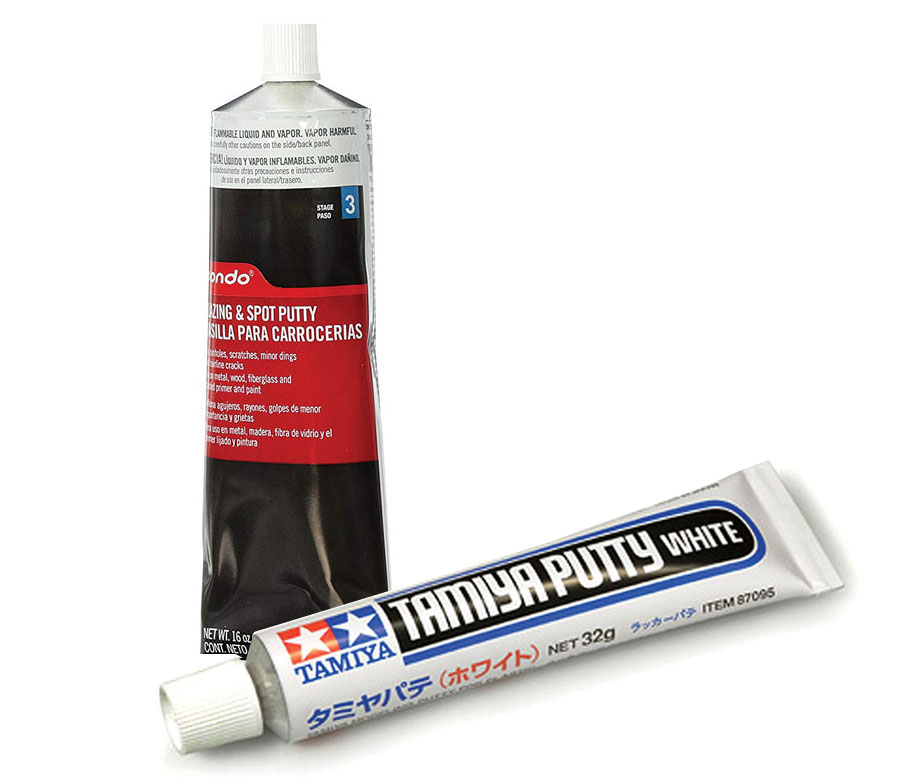
When doing this kind of body work, you’re going to need to use filler here and there to smooth out what you’ve done. I like to use two different types of fillers when modifying injection-molded bodies: Bondo Spot Putty and Tamiya Putty. Bondo Spot Putty is used on full-size cars and found in auto-parts stores. I use this filler when I have a large area to smooth out, such as the roof on my crew-cab body. It is inexpensive, spreads well, and is easy to sand. The downside is that it has a tendency to shrink, and this means that you may have to do more filling and sanding to get an area level. A fix for the shrinkage is to spread the filler in light coats, and after giving it a day or so to dry, give it a coat of CA glue after sanding it flat. The glue will harden the filler and reduce or eliminate any possibility of it shrinking. Tamiya Putty is expensive, so I use that for smaller imperfections. It’s great because there are no real shrinkage issues to worry about, but it does take a little longer to sand when compared to the other filler.
Text & Photos by Kevin Hetmanski
The post Turn two standard cab bodies into one sweet crew cab appeared first on RC Car Action.


