Word and Photos By Drew Trudeau
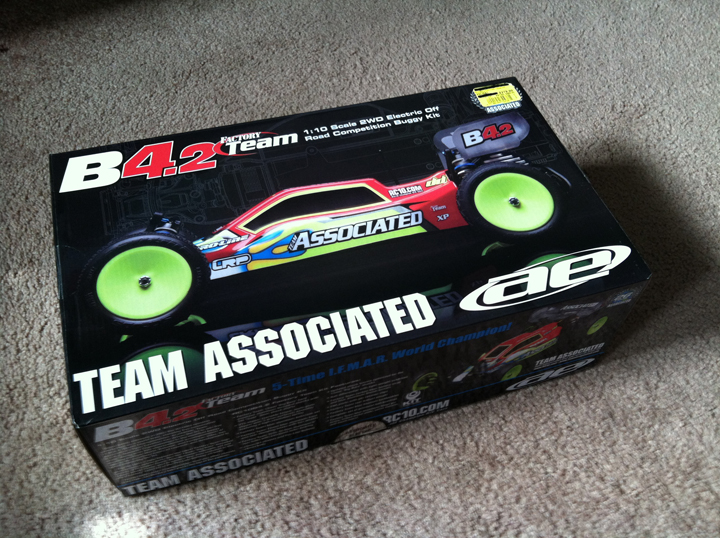
The Associated B4.2 Factory Team kit takes a formidable buggy, the B4.1, and offers up all the best updates that Associated could throw into it. The B4.2 is for those that are ready to enter into the gamut of serious racing with a competitive model that begs for the best electrics you can install. Just recently I started racing at my local and after just a few laps with my short course truck, I was in complete bliss and eager to try 2WD buggy. I love building kits and have always appreciated Associated’s craftsmanship so after a little investigation I quickly settled on the B4.2 Factory Team as a great kit that has it all. This kit highlights upgrades for almost every aspect of the original B4.1 including Big Bore 12mm shocks, VTS Slipper, Factory Team blue aluminum steering bellcrank set, clamping hexes, and 0° rear hubs. From a full set of precision ball bearings to the new updated +8mm chassis and Pro-Line Bull Dog body this kit almost negates the need to upgrade beyond what is included. So without further ado let’s open the box and get building!
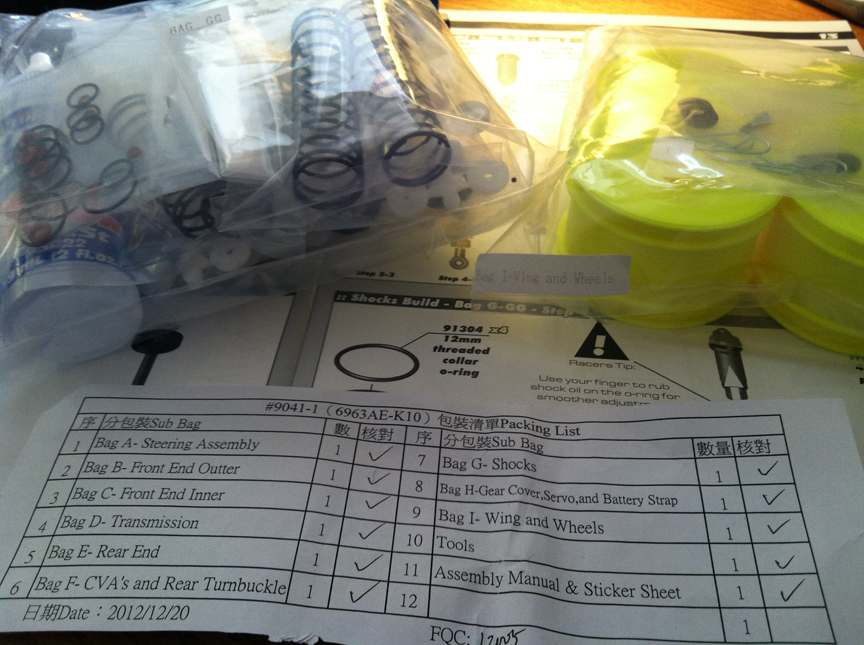
Inside you will find everything you need to get this rolling chassis going but you will need to invest separately in electrics, tires, batteries and a charger if you don’t have them already. This is a racer’s kit and they expect that you will want your own unique racing set-up; I chose the Futaba 4PL radio system along with a Novak brushless system to finish off my buggy.
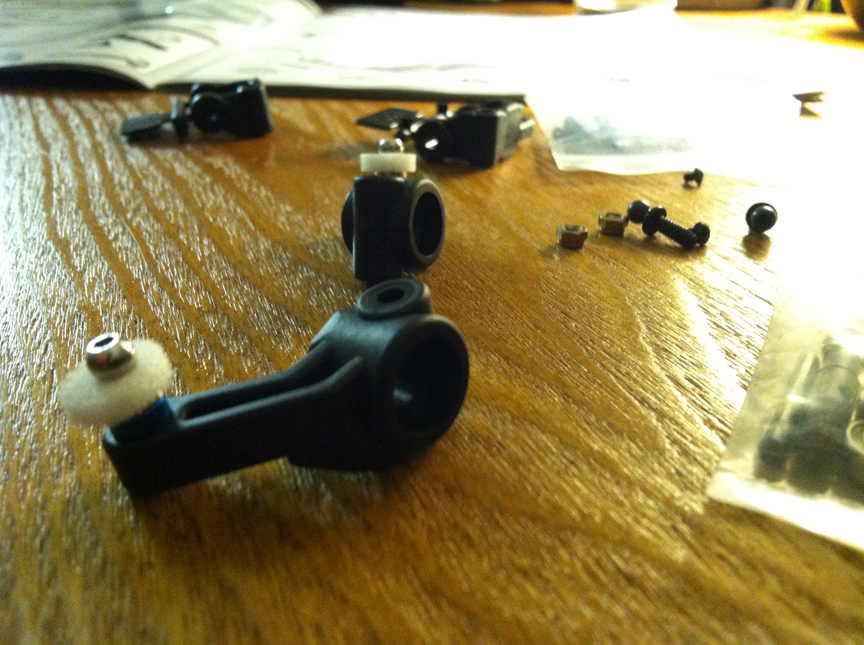
After you finish constructing the steering we move on to bags B and C to finish up the front end. The steering blocks house the front wheel bearing while the front axles are completed with Factory Team 12mm clamping wheel hexes.
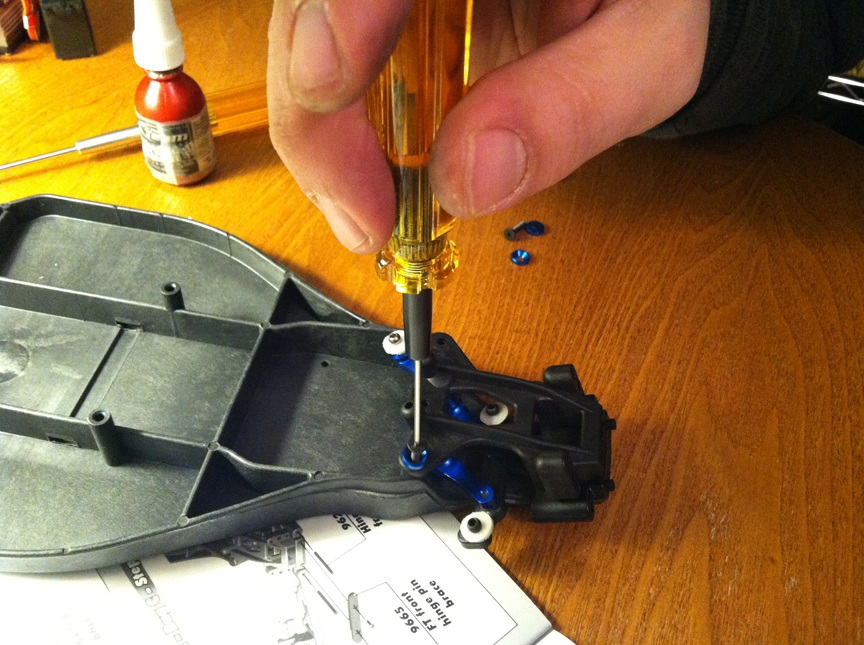
The kit begins with BAG A and the steering assembly. The kit includes a Factory Team aluminum bellcrank set that’s a nice addition with this kit. Remember, it is important to use threadlock when screwing down the ballstud to the bellcrank to keep them from backing out during racing. The front bulkhead and top plate are then bolted down to the chassis which has been extended by 8mm from the B4.1.
After you finish constructing the steering we move on to bags B and C to finish up the front end. The steering blocks house the front wheel bearing while the front axles are completed with Factory Team 12mm clamping wheel hexes.
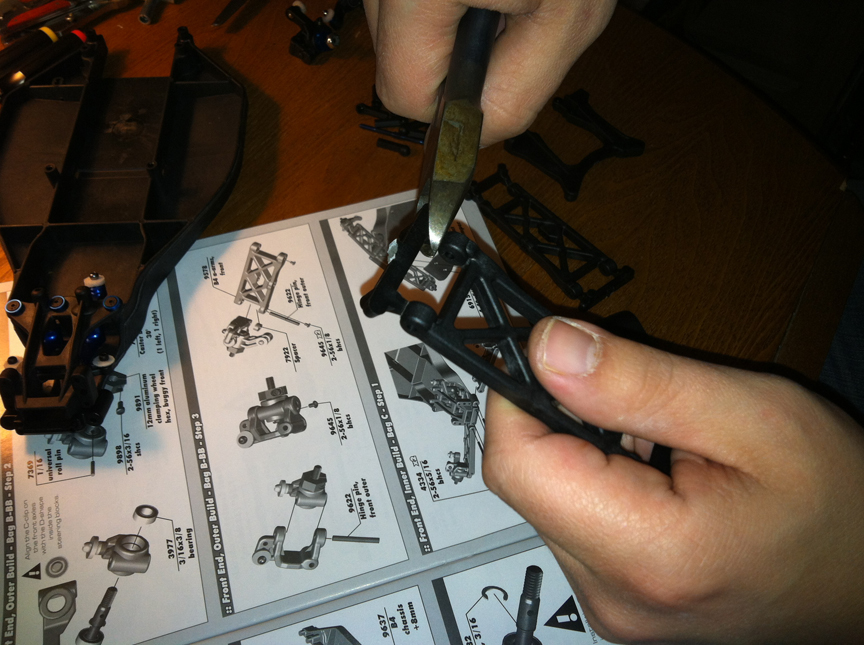
When cutting out the a-arms for the front and rear of your B4.2 you will want to be sure that there is no extra plastic left after cutting them from their plastic tree. Make sure you have some kind of sharp hobby knife or razor when trimming all your plastic parts from their packaging so the arms move freely on the hinge pins.
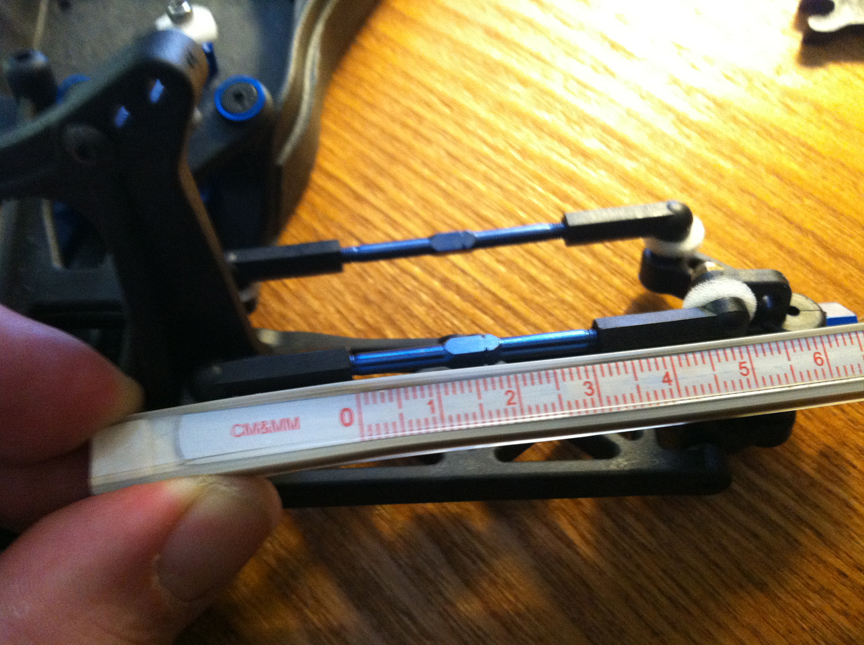
The front end assembly is wrapped up with the installation of the steering and camber turnbuckles. Associated has included Factory Team blue titanium turnbuckles which look cool and are lightweight and strong. When building this part your buggy it is critical you take note of the default measurements given in the instruction manual for the distance between ball cups. It is also suggested that you add a precision caliper or ruler to your toolbox to insure you have equal distances on both sides.
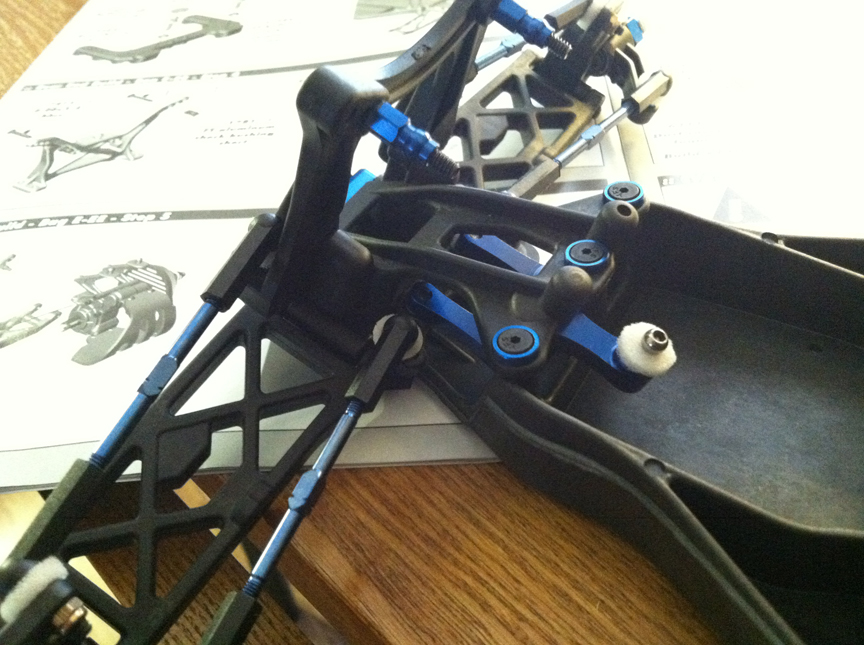
This kit also features updated front and rear shock towers to receive the beefier 12mm Big Bore shocks. You can see here some of the Factory Team options that have gone into the front end assembly. Take note of the Factory Team blue aluminum shock bushings on the towers and the blue countersunk washers used to secure down the top plate. These front end updates really help the B4.2 ramp up the durability and performance under the rigors of racing.
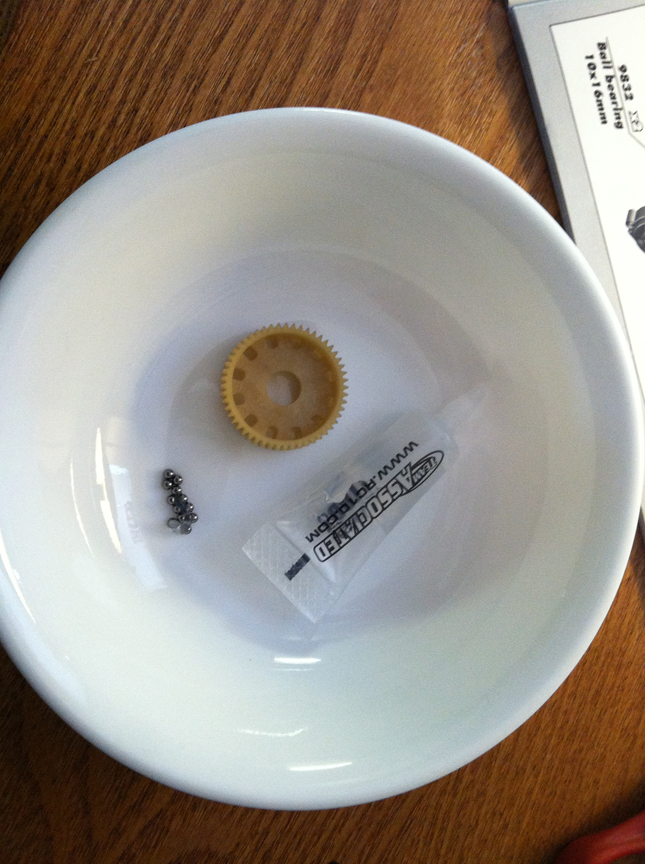
For the B4.2, Associated has returned to using a ball diff. The tunability and smooth operation of a ball diff can’t be matched and the A Team wouldn’t spec anything less for something under the Factory Team moniker. When assembling the diff, it is wise to construct this part of the transmission over a clean bowl to prevent any run away thrust balls from falling on the floor as they do not include extras so be careful.
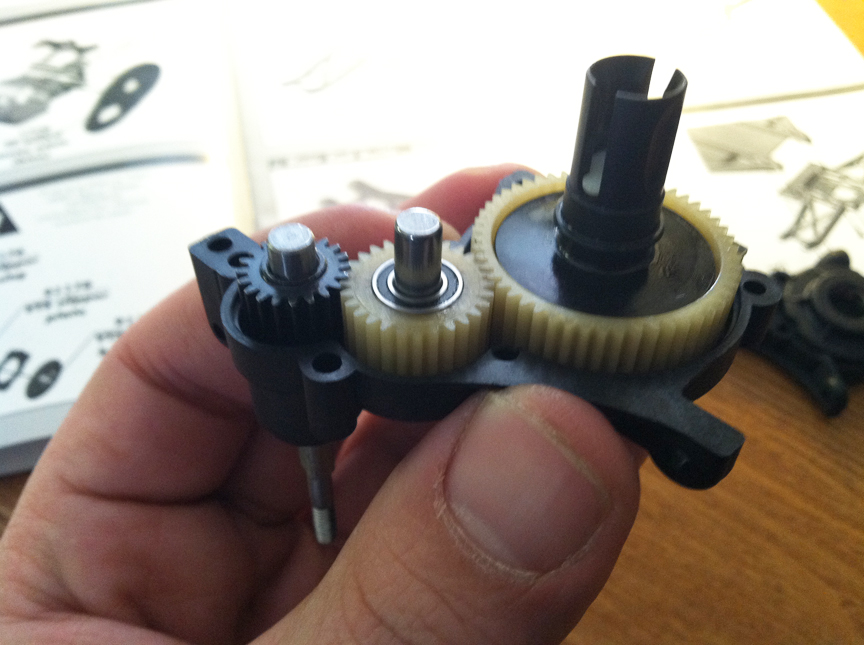
After completing the differential you will put together the transmission box. Associated has included a full set of ball bearings and it is important to make sure all fit snuggly when inserting them into the case. Hold one half of the case horizontal and drop each gear into their proper placement. Make sure the gears mesh smoothly before bolting down the other half of the case. It is important to take notice where instructed to use threadlock in the manual so you are assured of a tight case fitting.
That completes Part 1 of our Associated B4.2 build. So far we’ve seen some really nice Factory Team updates from Associated and in taking our time and having the right tools on hand it has been quite the fun and easy build. In Part 2 we will install the trick Factory Team VTS slipper, complete the rear end assembly and build those beefy 12mm Big Bore shocks. I’m really looking forward to building the second half of this kit as the slipper and shock set happen to be the real highlights of this kit.
D.Trudeau
The post Step-by-step Build: Associated B4.2 Factory Team [Part 1] appeared first on RC Car Action.

