Go from “broke” to “back in action” in no time
When you build your car or truck from a kit, a broken part is no big deal. After putting together everything yourself, it’s easy to spot what broke and figure out how to fix it. But for many RTR guys, something as simple and common as a broken suspension arm can make it seem like their car is “totaled” and will be a time-consuming and/or expensive fix. Maybe the car just gets shelved, which is the biggest bummer, because repairs are way easier (and way less expensive) than you think. This how-to tackles a broken suspension arm specifically, but similar steps are used to identify and replace any broken part. Time to DIY that RTR.
STEP 1: MAKE ROOM TO WORK
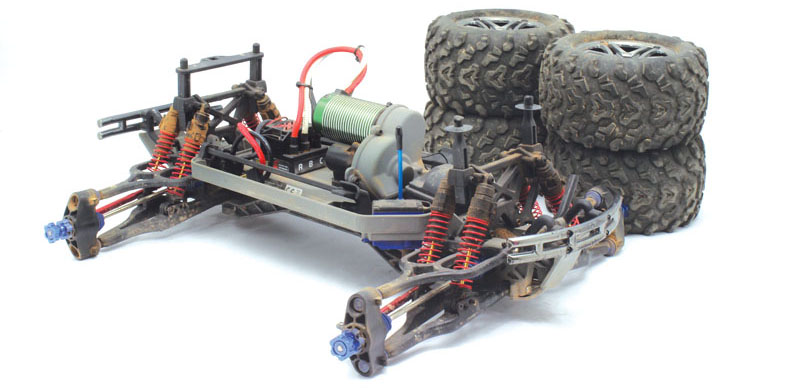
Take the body off and put it aside, and do the same with the tires. Once the tires have been removed, place the wheel nuts back on the axle so that you don’t lose them. With the body and wheels off, you can more easily troubleshoot your truck.
STEP 2: CLEAN AND ID BROKEN PART
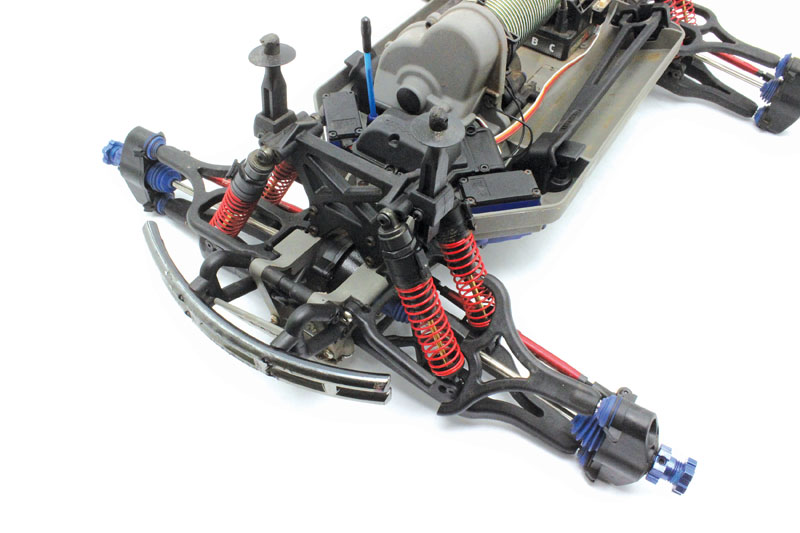
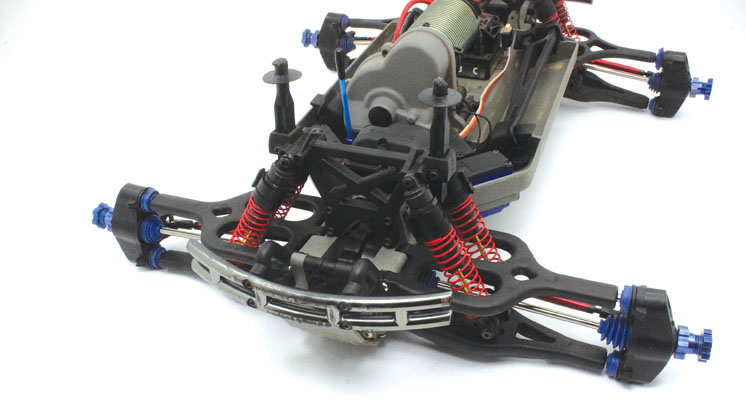
Don’t worry about a showroom shine. The objective here is to shake out and knock off any dirt and debris that might otherwise get in the way of your wrenching and make your bench messier than it needs to be. Inspect the truck to see what exactly is broken. Refer to the intact side of the truck to confirm which parts need to be replaced. In our example, the upper arm has “broken.” (We actually cut it to simulate a break. The sacrifices we make for you guys.)
STEP 3: REMOVE THE BROKEN ARM
The suspension arm has to be disconnected from the chassis and the C-hub or upright. Depending on your model, disconnecting the arm from the chassis may require that you pop e-clips off a hingepin, or simply unscrew the hingepin (as is the case with our E-Maxx). To remove the C-hub or upright, you’ll need to remove another hingepin, or unscrew the pivot ball (as we did with the E-Maxx).
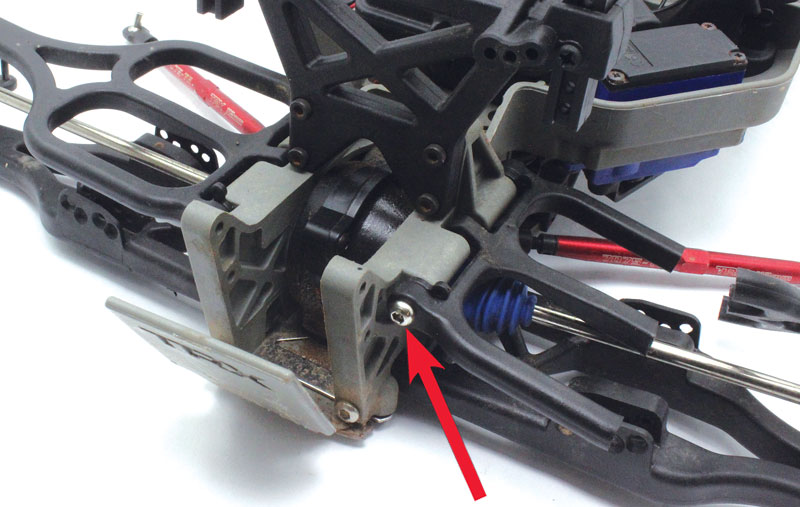
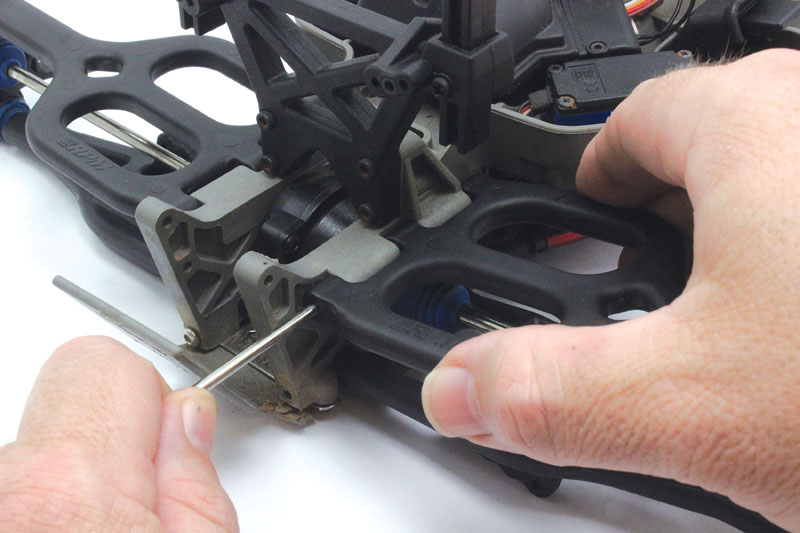
Unscrew the hingepin to remove the suspension arm. You may need to remove other parts to access the hingepin—in this case, we had to remove the E-Maxx’s front bumper.
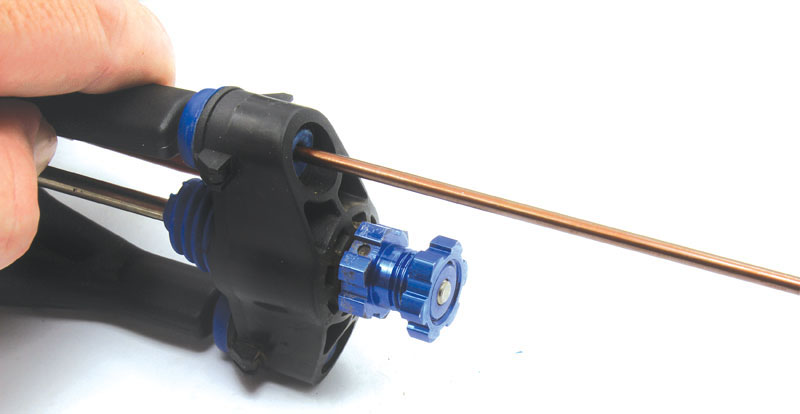
This E-Maxx requires that the pivot balls be unscrewed to free the upper arm. Other models may use a hingepin.
STEP 4: CHECK THE HINGEPINS
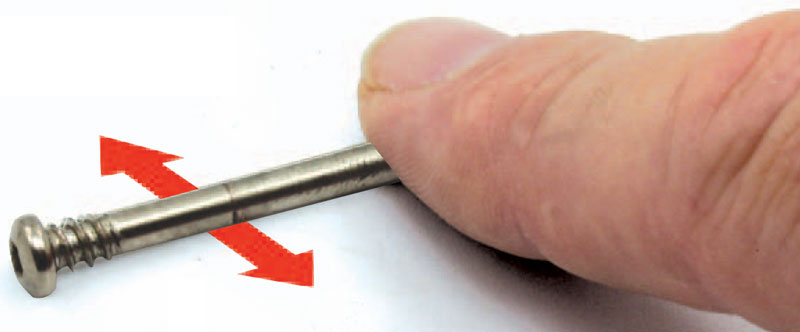
While you have your hingepins out, take the time to see if they’re bent. Any crash severe enough to break an arm can also bend the hingepins, and bent pins will bind the suspension. If a pin isn’t obviously bent, check it for straightness by rolling it a hard, flat surface. You’ll feel a bent pin wobble. Replace any bent hingepins.
STEP 5: INSTALL THE NEW ARM
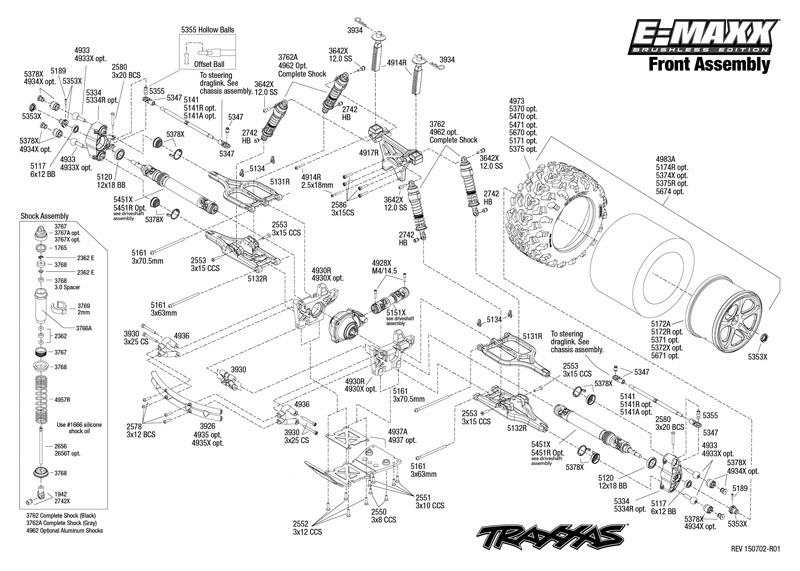
To install the new arm, just reverse the disassembly steps. If your car’s manual has an exploded view—or better yet, it came with an assembly manual—you can refer to that as well. Be sure to inspect the arms to make sure you install the new arm in the correct orientation if the part is top/bottom or left/right specific.
DONE!
No matter how wrecked your RC car looks, it can be repaired. There is no part that cannot be replaced, and with a little patience, no RC job is difficult. Take your time, use resources like your manual and exploded view, and you’ll be surprised just how easy it is to get your ride off the disabled list and back into action.
Sources
RPM rpmrcproducts.com
Traxxas traxxas.com
|
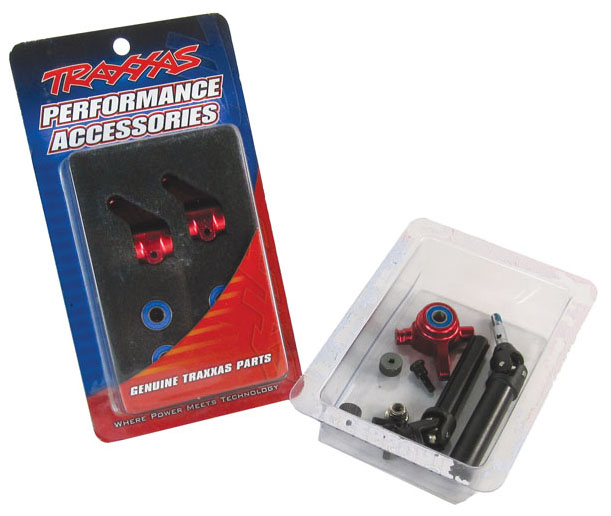
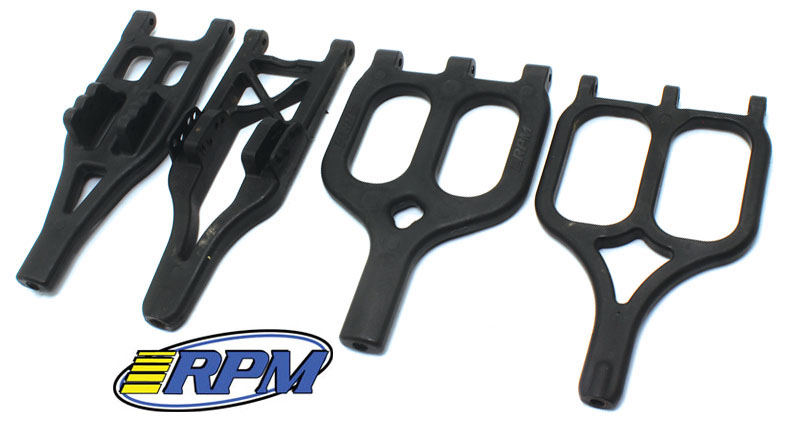
Should You Upgrade That Part to Aluminum? If you break the same part more than once, it’s only natural to wonder if there isn’t a stronger version available. Many brands offer aluminum versions of certain plastic parts, and if they don’t, chances are the aftermarket does. The most common candidates for aluminum upgrades are arm mounts, C-hubs, rear hub carriers, and steering knuckles. If you’re breaking these, consider making the aluminum upgrade.You may also find aluminum arms for your model, but use caution with these; unlike plastic arms that flex and return to shape, aluminum bends and stays bent. That’s not a problem for items such as arm mounts and hub carriers, which don’t really see bending forces. But for suspension arms, aluminum is not the best choice. If you want them for style and you don’t crash into stuff, great. But if you’re out there breaking plastic arms, you’ll bend aluminum arms. Or that strong aluminum arm will transfer crash loads to other parts, and they’ll break.If you you’re having trouble with arms breaking, see if RPM offers arms for your model. RPM uses an extra-tough plastic, and the parts are generally thicker and more flexible than stock, so they don’t break—and they don’t cause other parts to break, either. |
By Kevin Hetmanski
The post Replace a Suspension Arm appeared first on RC Car Action.

