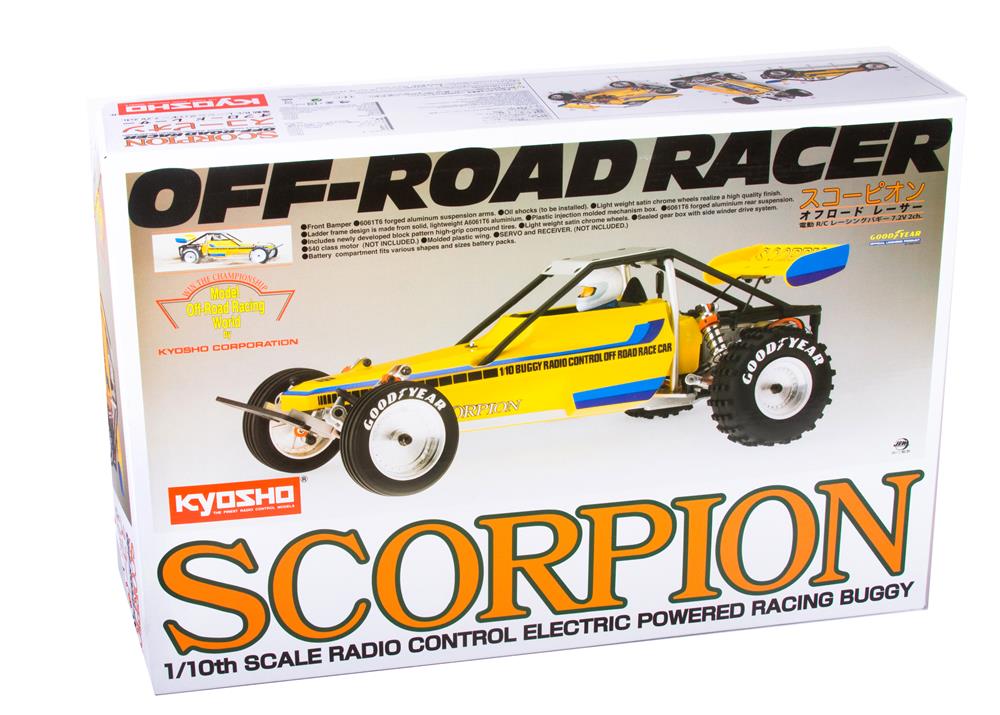
Here’s a link to the Scorpion unboxing, in case you missed it. With unpacking the kit out of the way, I’m ready to start spinning wrenches. The fun starts with a bunch of aluminum bits…
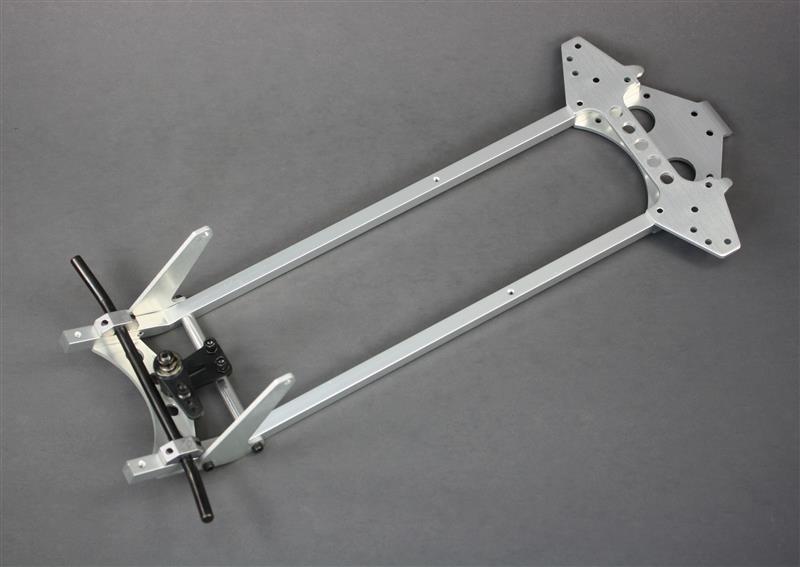
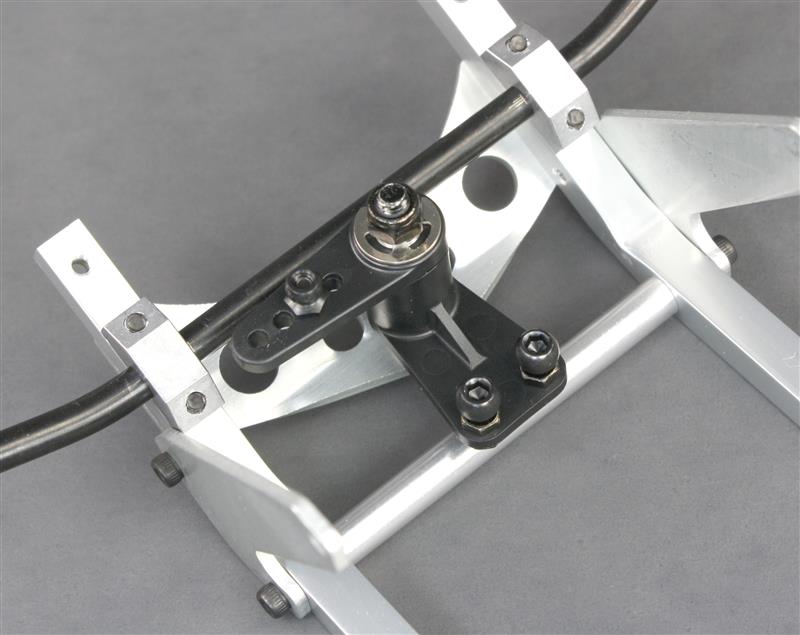
The chassis rails and steering bellcrank are assembled first, with hex hardware used throughout. The chassis rails are stout, solid-aluminum extrusions that are drilled and tapped to accept the front shock towers and rear suspension arm mounts. The steel rod clamped to the chassis is the “Front Arm Shaft.” It’s essentially a massive hingepin.
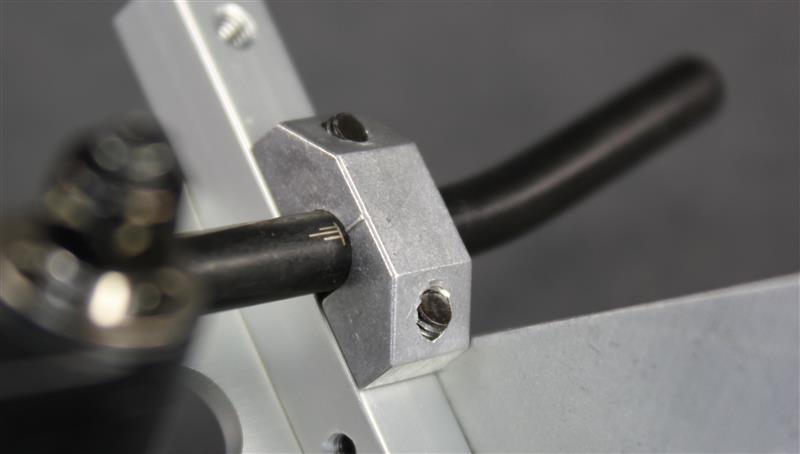
Kyosho has thoughtfully etched alignment marks into the Front Arm Shaft so it’s easy to properly center it between the chassis rails. The shaft can also be rotated to alter the caster angle. To help visualize adjustments, the pillow block has a ridge that aligns with setting marks on the shaft.
Here’s the servo-saver. You have to work against the spring to snap an e-clip into place and hold the assembly together, but it’s an easy job because the spring is very soft. This makes for a very active servo-saver, which was definitely the way to go with the fragile plastic-geared servos of the original Scorpion’s era.
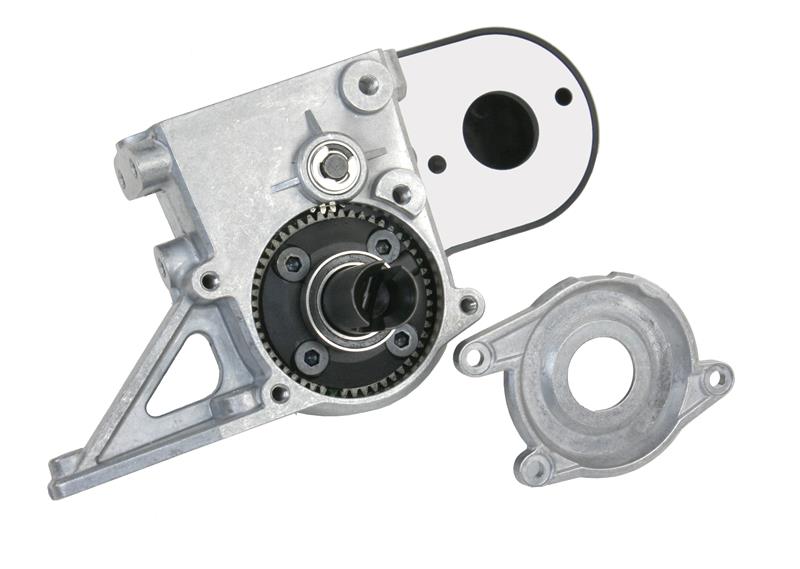
Next, the factory-built gear differential is slipped into the transmission and secured via a cap plate. The bearings slide in easily yet the fit is very precise, which is appreciated when pressing bearings into metal.
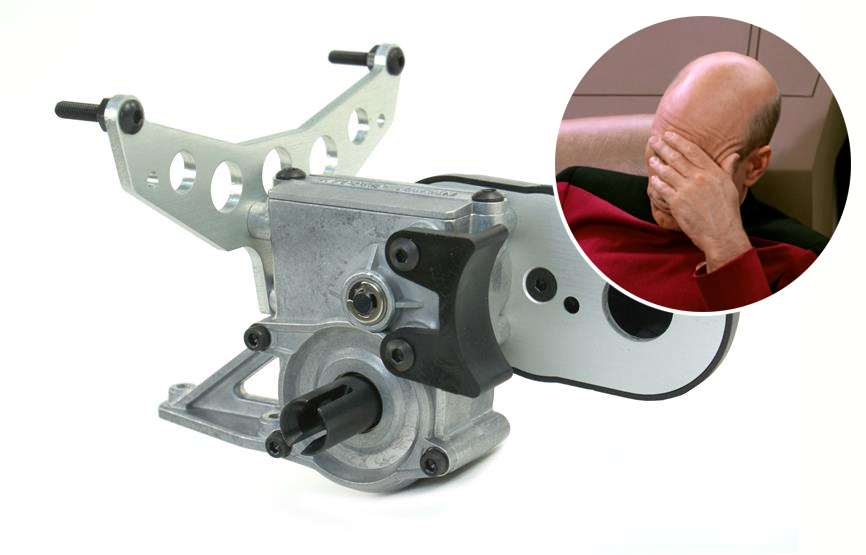
The shock tower is attached next. When the motor is installed, it will butt up against the curved plastic piece. This will help prevent a blow to the motor from bending the motor plate.
Update: I put it on backwards, the curved bit should extend away from the transmission, not go behind it. Facepalm.
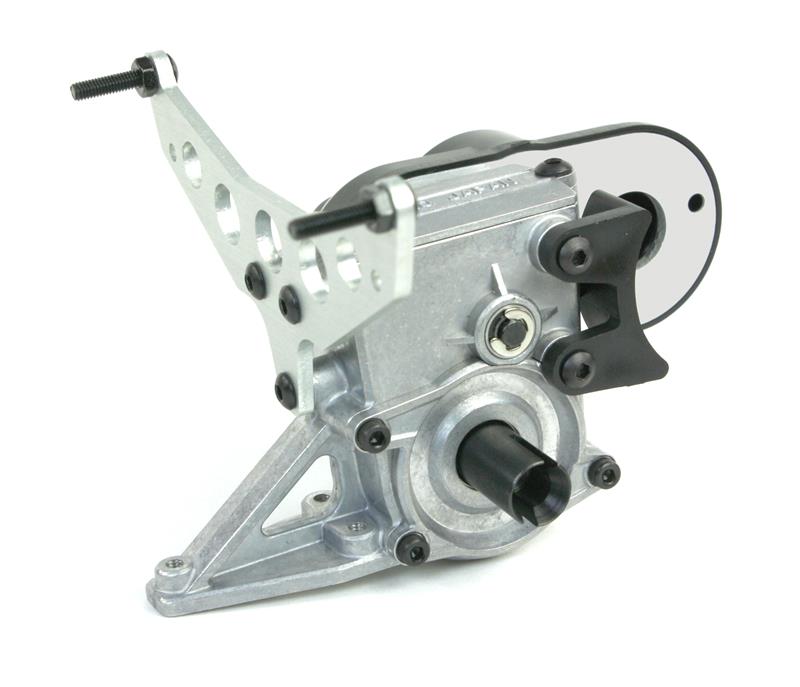
Same assembly viewed from the front. Not the plate that caps the top of the transmission.
Moving along…three screws hold the transmission to the chassis, and a three-piece plastic cage wraps the rear of the car. The instructions call for the motor to be installed by this step, but I’m going to do it later in the build.
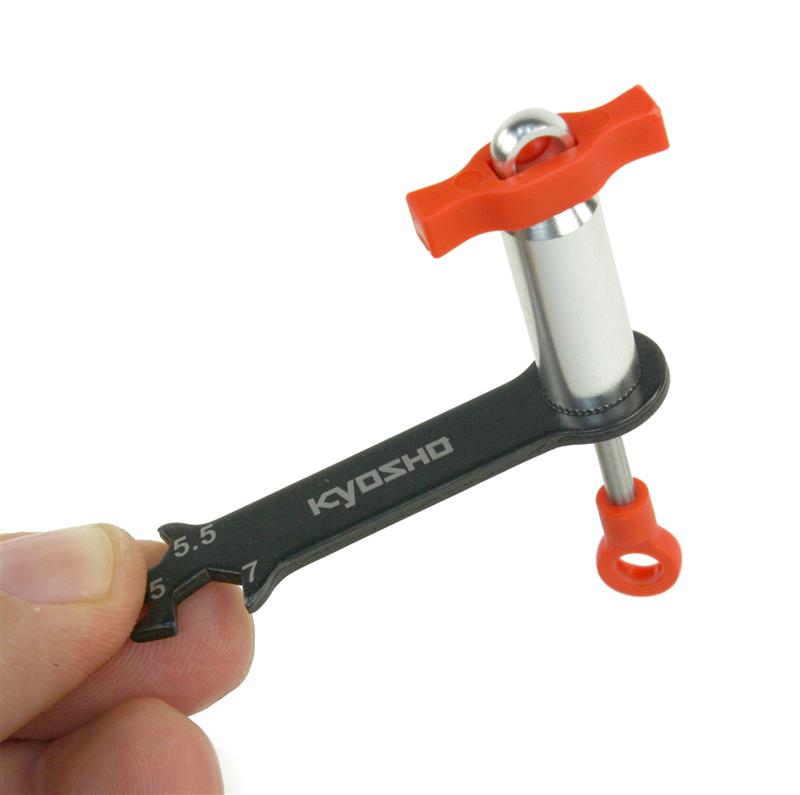
From the chassis and transmission assembly, the manual moves to filling the shocks. First they must be opened up, which Kyosho makes easy with the supplied wrench and shock tools.
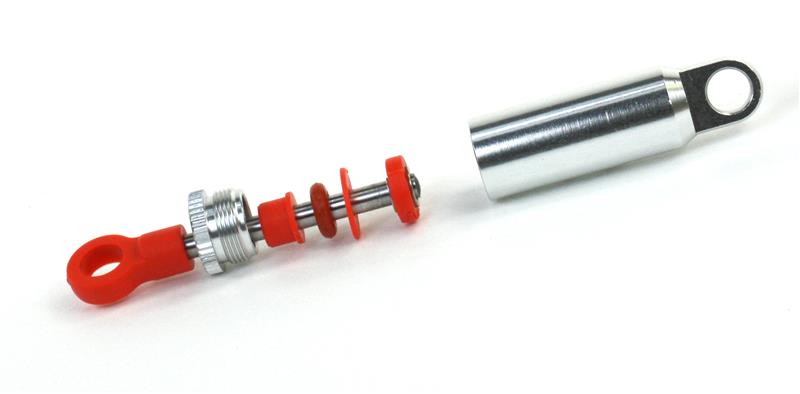
Each shock is sealed by a single o-ring on the shaft and a thin, transparent plastic gasket (not shown) that fits over the seal cartridge. The gasket is a pain to push past the threads–I wish it were an o-ring. Filling the shocks properly for smooth action takes a few tries, as the volume of oil in each shock is very small. One drop makes a difference!
The post Kyosho Scorpion Online Build appeared first on RC Car Action.

