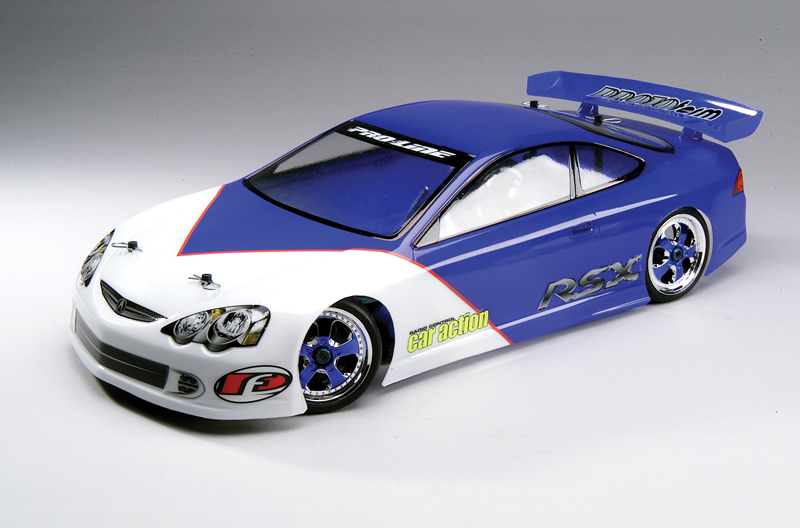
So, you decided to get into RC, and you’ve been having a blast ever since. And your machine’s thrashed-out body has the battle scars to prove it. It’s time for a new look! Instead of reaching for another original-equipment body, why not go for a new look with an aftermarket shell and your own unique paint job? All you’ll need to get stunning results are a few cans of spray paint and masking tape.
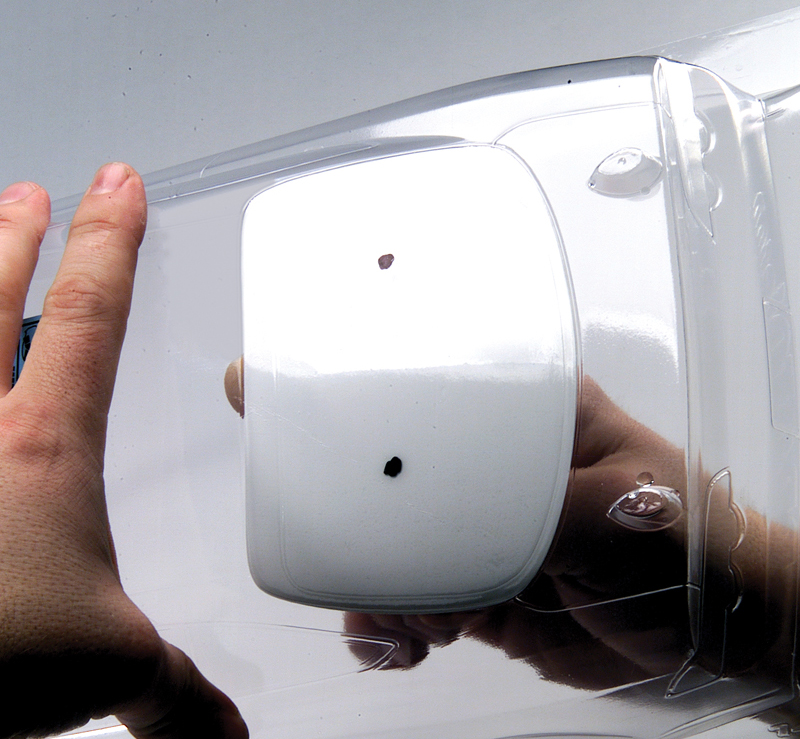
Step 1: Mark the body-post locations
Position the body over the chassis, line up the wheels with the wheel wells, and mark the spots where the body posts contact the shell. You can make a dent with the tip of your hobby knife to mark the spot, or use a permanent-ink marker.
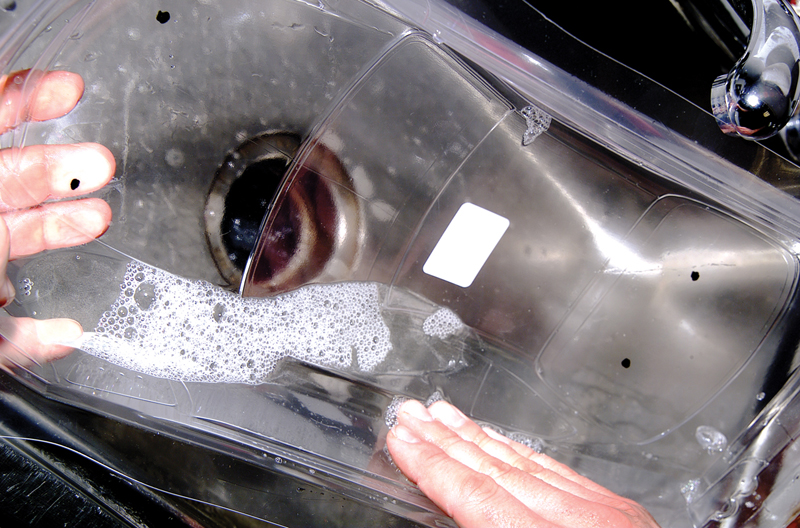
Step 2: Wash the body
Although your crystal-clear body looks perfectly clean, it no doubt has fingerprints and dust on its inner surface. Water and dish soap are all you’ll need to clean it. When you’ve finished, dry the body thoroughly with a lint-free towel.
Step 3: Apply the window masks
Virtually all bodies now include precut window masks; just peel and stick them into place. Be sure to rub the edges of the masks down completely so that they tightly seal out the paint.
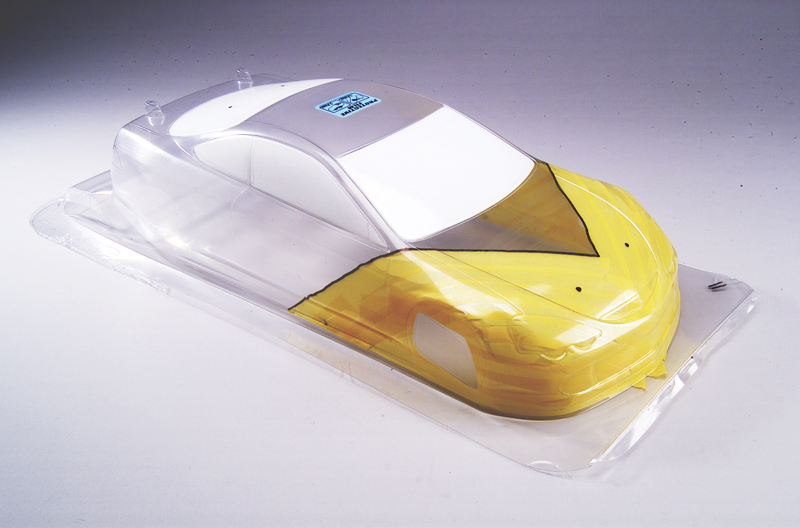
Step 4: Mask The design
You can sketch on the body with a permanent-ink marker; the lines are easy to remove with denatured alcohol. When you’ve settled on a design, tape off the areas that will be painted the lighter color. When you paint, always apply the darkest color first; that way, it won’t bleed through the lighter color.
Step 5: Paint!
Shake the paint can thoroughly, hold it about 10 inches away from the body, and spray in smooth strokes. Stop spraying after each stroke; if you hold the button down nonstop, you’ll waste a lot of paint and just create a choking cloud of overspray. Unless you’re painting a metallic or candy color, one coat should be enough, but if you notice any thin spots, you can apply a second coat after the first one has dried.
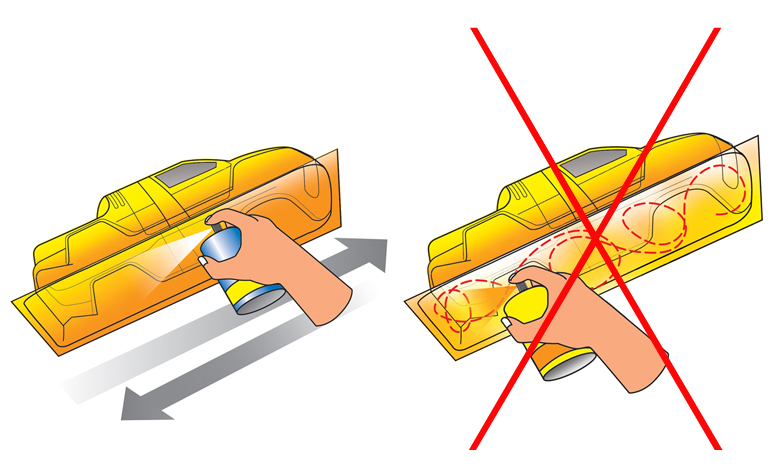
Spray from side to side, and stop between strokes. A few thin coats are better than one or two thick coats. Don’t “scribble” the body; you’ll get uneven coverage, or worse, runs
and drips.
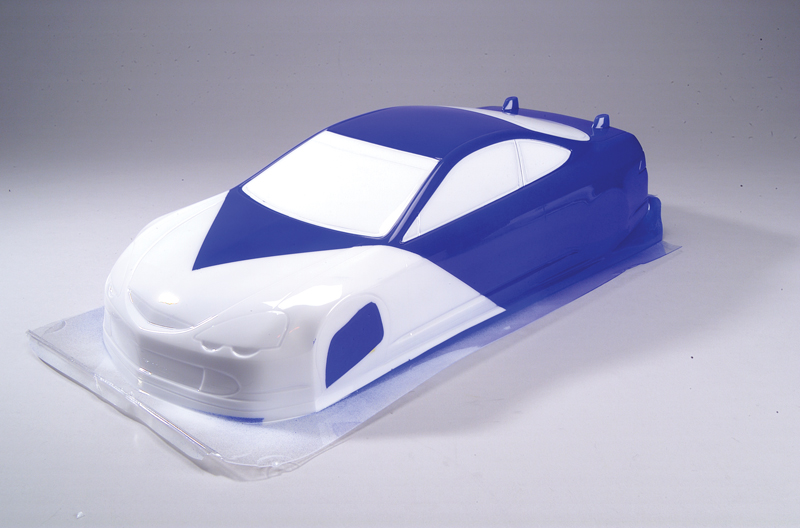
Step 6: Remove the masking & apply the second color
After the paint has dried completely, peel off the mask (but leave the window masks on) and paint the second color. Allow it to dry completely, and recoat if necessary.
Step 7: The big finish
When all the paint is completely dry (to be safe, wait a few hours), peel off the window masks. Instead of picking at the edges with your fingernail, use a hobby knife to lift a corner of the mask; you don’t want to scratch your new paint job. You can also peel off the overspray film (look at that shine!) and apply the decals; now your paint job will really come to life.
The post How To: Basic Lexan Body Painting appeared first on RC Car Action.

![Camera: DCS660C Serial #: K660C-00802 Width: 3040 Height: 2008 Date: 3/24/03 Time: 10:26:11 DCS6XX Image FW Ver: 3.2.3 TIFF Image Look: Product Sharpening Requested: Yes Counter: [1813] Shutter: 1/30 Aperture: f22 ISO Speed: 100 Max Aperture: f3.5 Min Aperture: f29 Focal Length: 45 Exposure Mode: Manual (M) Meter Mode: Spot Drive Mode: Single Focus Mode: Single (AF-S) Focus Point: Center Flash Mode: Normal Sync Compensation: +0.0 Flash Compensation: +0.0 Self Timer Time: 10s White balance: Auto Time: 10:26:11.839](https://www.rccaraction.com/wp-content/uploads/2017/02/bp_1.jpg)
