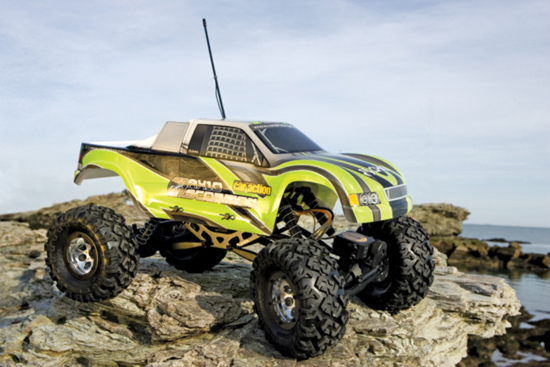
Here’s a fun way to make your RC images stand out from the crowd. In a few simple steps, we’re going to add contrast and texture to create a grunge look using Photoshop.
The great thing about this technique is that it can be applied to so many different types of photography. From RC product shots like this, to photos of your friends, action shots, and even design and illustration.
Step 1: Go out and take a photo of your favorite RC vehicle. Try to include rough terrain and the sky in your frame, as these elements will work well in the process we are about to perform.
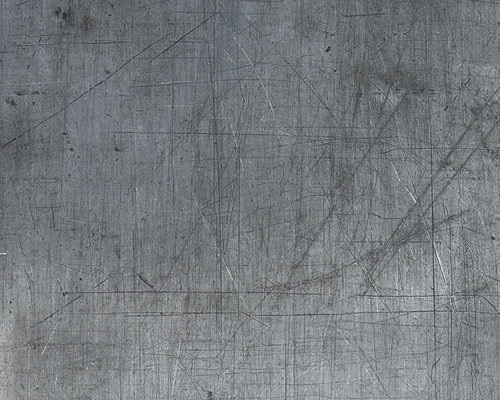
Step 2: Find a texture image that we’ll use to merge with our photo. I simply went to google and searched “texture” to find the one below. What you’re looking for is a black and white image with a lot of scratches and rough patches.
Step 3: Ok, let’s open up our photo in Photoshop. First we’ll add a good amount of contrast and dimension to the image by using what’s called a “high pass filter”. It’s easy to do and works really well.
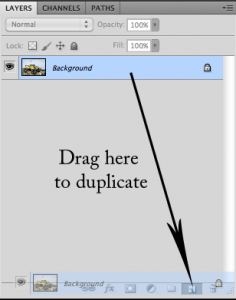
- Duplicate your layer by hitting “command+J” on a Mac or “control+J” on a PC or by dragging your background layer to the “NEW LAYER” Icon.
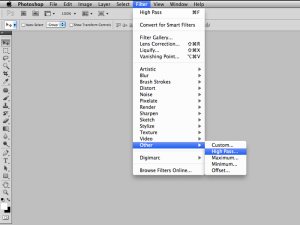
- Next go up to the filter menu and click on “filter>>other>>High Pass…”
- Next drag the slider over until you start to see a bit of color. Don’t go too far or it will look too exaggerated. You might have to test a little to see what works best for you.
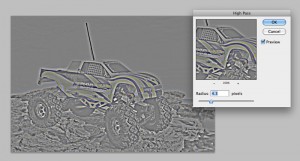
- Click OK to set the filter.
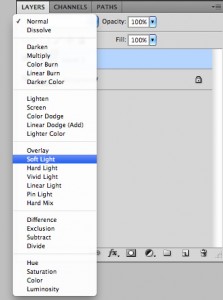
- Next go over to your layers pallet and set this layer to “SOFT LIGHT”
Big difference isn’t it? You can use that technique alone on your RC images and get great results. Be careful not to over-do it though. It can be tempting to push it to the limit, but sometimes it can look too “Photoshoped”.
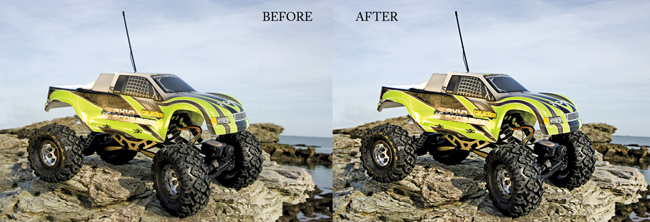
Step 4: Ok now it’s time to add in the texture. This is surprisingly EASY. Click “File” and then “Place” , select the texture and click ok. Now if your image was like mine, it doesn’t perfectly fill the image. That’s totally fine. Just hit “command+T” on a Mac or “control+T” on a PC to bring up the free transform tool. Now simply stretch it to fit your image.
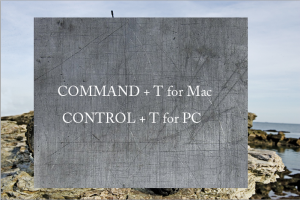
Next simply click on the texture layer and set the blend mode to “OVERLAY”.
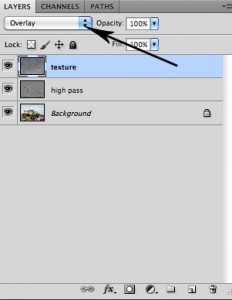
Pretty cool huh? That’s all it takes to add a texture like this into your image.
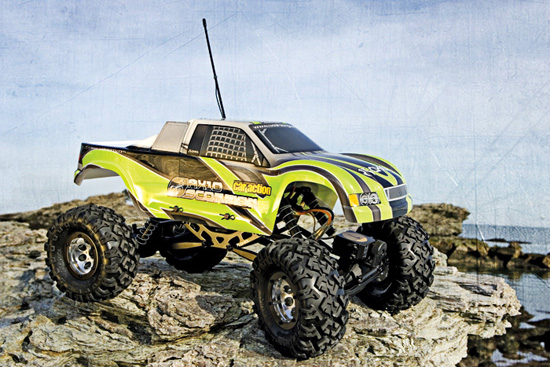
Step 5: Now let’s finish off the image by burning the edges a little. In my previous post, “Creating Killer RC Action Video“, I mentioned adding a vignette to add some drama. Here’s how to do it in an image.
- Create a new blank layer and set the blend mode to “SOFT LIGHT”
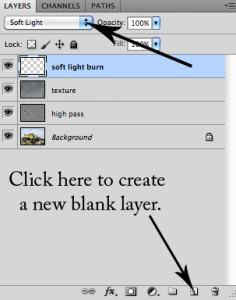
- Now simply use a black brush to paint the edges and sky to darken them.
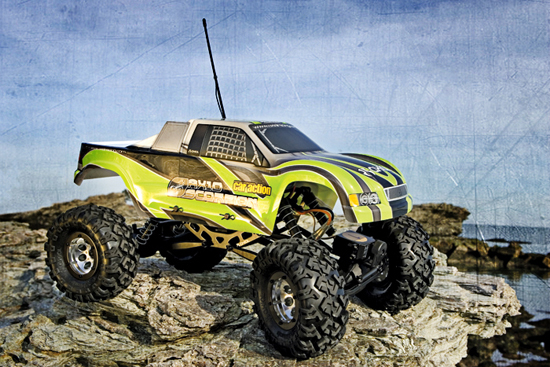
Although that might seem complicated the first time you try it out, once you get the hang of it the technique should only take a couple minutes to perform. Put this in your bag of tricks and make your RC photos stand out from the rest of your friends.
Got questions or comments? Be sure to leave me some feedback below.
Oh by the way. Here’s the photoshop file I used for this tutorial! DOWNLOAD HERE
The post *Give Your RC Photos an EDGE! appeared first on RC Car Action.

