Ready-to-run has always been synonymous with “assembled,” but true readiness-for-running varies from manufacturer to manufacturer and model to model. These days, most RTRs are impressively complete and well built, but there are a few extra steps you can make yourself to be certain your RTR is truly ready to run, and run its best at that. Spend a few extra minutes to prepare your new machine as we detail here, and you’ll be rewarded with maximum performance and fun.
OPEN THE BOX
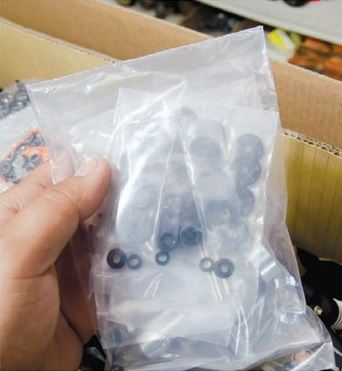
Just because the kit is pre-built doesn’t mean your new vehicle won’t come with extra parts in the box. Whether they’re spare parts, tools, or tuning items, they’re all worth keeping!
When you tear open the packaging in excitement, make sure to account for any included tools and spare parts; stash these away in your toolbox for safe keeping. Check for sticker sheets, parts lists, manual addendums, and any other important information before you start throwing stuff away. Carefully cut any zip-ties that might be securing the chassis or transmitter to a cardboard insert, as they can be tough; tough like driving your new truck if you cut your fingers.
CHARGE THE BATTERY
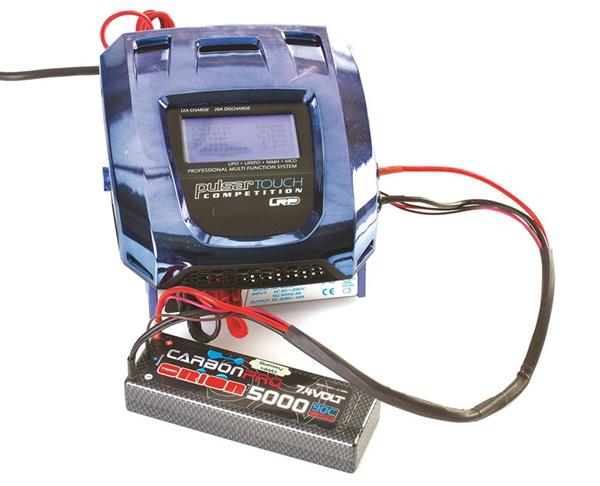
Once your charger is set to the right parameters, get the juices flowing so that the battery will be done charging by the time you finish everything else.
Charge your new battery according to the instructions that came with your charger and battery. Especially when charging LiPo packs or when using an aftermarket charger, it’s important to verify that all of the settings are correct. While you’re waiting for the alarm to sound, you can move onto the remaining steps.
READ THE INSTRUCTIONS
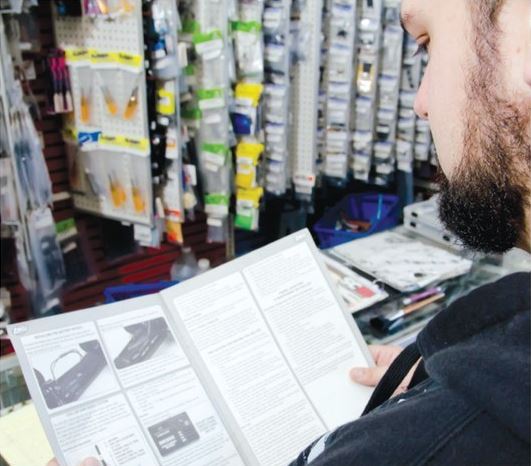
It might sound tedious to read before you play, but the instruction manual contains vital information about how your new vehicle operates.
When it comes to playing with a radio control item that came nearly completely prepared for operation, there’s nothing more embarrassing than botching something that was clearly explained in the instruction manual. Read through each page of the included literature and follow what it says to do. After all, no one knows your RTR better than the company that made it.
VENT THE TIRES
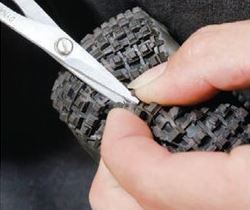
A leather hole-punch is the best tool for this job, but scissors will work in a pinch – literally. Just pinch the tire and make two small snips.
Give your tires a good squeeze. Can you hear the air rushing in and out of them? That’s bad. Many RTRs have very small vents in the wheels, and yet others don’t have any vents at all. Letting your tires breathe and allowing the inner foam inserts to work properly will offer huge performance gains for almost any car or truck, and it’s one of the most commonly overlooked steps in unboxing any RTR.
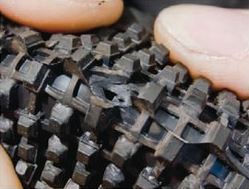
The hole you created will allow air to escape when the tire deforms, increasing traction and reducing the tire’s tendency to bounce.
Use a small pair of scissors to cut two ¼-inch holes in the center of the tire’s tread, located 180 degrees opposite of each other, and try the squeeze trick again – the rushing air noise should be significantly reduced, and you’ll feel the tire return to form much faster than before. The holes in the tire have another added benefit, too; any dirt or water that accumulates inside the tire will be flung out through these vents.
TIGHTEN THE WHEEL NUTS
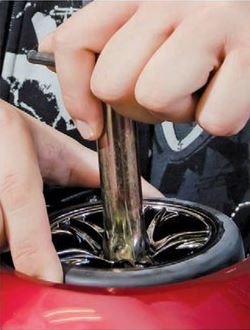
You wouldn’t want to strip out a new wheel because you didn’t check the wheel nuts would you? (Answer: No, you don’t.)
It’s not uncommon to see a racer lose a wheel while on the racetrack, but it’s even more likely to happen when you pull your RTR out of the box to drive it. The plastic components used on RC cars have a tendency to settle and break in from the time your car was built, packaged, and shipped to you, and this can lead to loose screws and nuts everywhere. While the battery is charging before your maiden voyage, give your new ride a thorough checking to make sure important fasteners are snug and won’t fall off. If you find a metal screw that is threaded into metal has come loose, add a small dab of thread-locking compound before reinserting it.
TRIM THE BODY POSTS
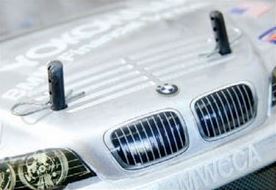
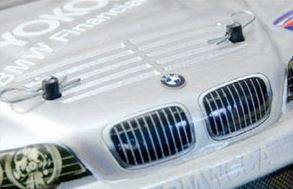
Much like a football fan thrusting both arms in the air and yelling, “It’s good!” when his favorite team kicks a game-winner, having excessive body posts sticking up from your car is obnoxious and silly. Once you have the body clipped onto the car, trim off the field goal posts to which the body is mounted and sand them smooth. Your car will look much better, and the posts won’t snag or catch on anything.
STICKER THE BODY
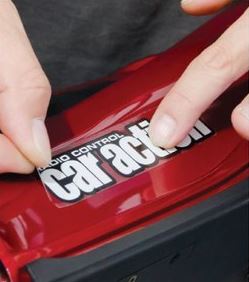
Cut out the decals, plan where you want them to go, remove the protective film, and stick them in place while the shell is still new. Once the body is scratched up the stickers won’t work as well!
Adding decals to the body won’t improve performance or durability, but your car will never look this clean and pretty again. A well-organized application of decals and stickers can transform even the most mundane rattle can paint job, and does wonders for hiding the not-so-brilliant schemes found on some RTRs. Not only do stickers add a personal touch to your new rig, but they’ll stick better when the body is clean and scratch-free. Just remember to remove the protective film first.
Before You Leave the Store
Even though it’s called a “ready-to-run,” you’ll typically need a few items that you won’t find in the box. If you’re looking to start driving as soon as possible, start by looking on the box or in the instruction manual for a list of what you’ll need to complete the package. A number of manufacturers have started including items like batteries, chargers, and even AA’s for the transmitter, but it’s important that you pick up these accessories before you head home (or click “Checkout”). Here are a few commonly required items and a suggestion of what to get:
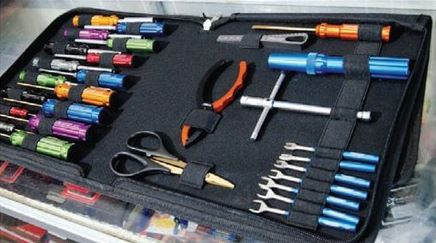
Even though your new car came with basic assembly tools to help you perform rudimentary repairs, you’ll find that wrenching on your ride is more enjoyable with a proper set of tools, like this assortment from Team Integy.
- AA batteries – Traxxas Power Cell AAs (Item no. 2914, $3.69)
- Nitro fuel – Byron Originals 20% RACE 2000 Gen2 (Item no. 3130216, $10)
- Fuel bottle – ProTek R/C “Fast Fill” (Item no. PTK-7600, $5)
- Glow igniter – Hobbico Super Hot Shot 2 (Item no. HCAP2528, $28)
- Charger – Hitec X1 AC Plus (Item no. 44165, $63)
- 7.2V NiMH battery – Venom Power 7.2V 4200mAh (Item no. 1546, $29)
- 2S LiPo – Reedy WolfPack 2S 5000mAh (Item no. 736, $55)
CHECK RADIO RANGE AND SETTINGS
This step is likely listed in the instructions you read earlier. Check to make sure that the antenna wire is routed properly through the antenna tube (and not coiled up inside of the receiver box) and install the transmitter batteries. Install the freshly charged battery pack, turn on the car, set it on a secure car stand so that it won’t drive away. Then, walk away from the car while checking to see if the steering and throttle/brake work correctly. If it works from about 100 feet away, you’re good to go.
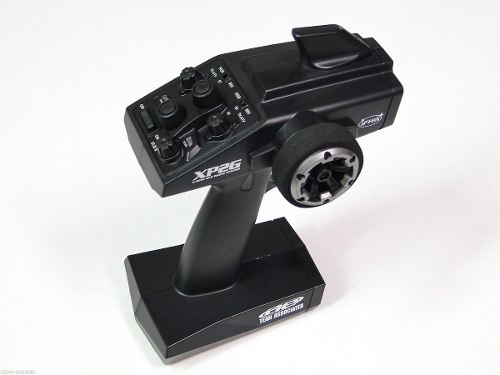
Those big adjustment dials might be easy to use, but they can also be bumped out of adjustment during shipping. Make sure they’re set correctly before you drive for the first time.
This is also a good time to make sure the radio settings are correct, as the knobs may have been twisted in transit (or at the hands of a previous customer who happened to peek inside the box). Visually check the steering trim to make sure the front tires are pointing straight ahead, and adjust the throttle trim so that the car doesn’t creep when the trigger is at neutral.
ONCE THAT’S ALL DONE…
…so is the checklist of what you need to do before you start driving. Whether you’ve driven one RC car or 100, take it easy when learning to control a new vehicle. And don’t forget to have fun.
The post From Box to Backyard: How to Make Your RTR Truly “Ready To Run” appeared first on RC Car Action.

