There are a lot of adjustments available on today’s solid-axle monster trucks and being able to take advantage of those settings and get the setup just right for conditions can give you an advantage over your competitor. In this guide, I’ll talk about adjustments that are available on solid-axle monster trucks and what they will do for the performance of your truck. When making these adjustments, it’s important to make one at a time, then drive your truck to see if that adjustment got you where you wanted to be. Read on and find out how to get that truck set up just right.
Wheelbase
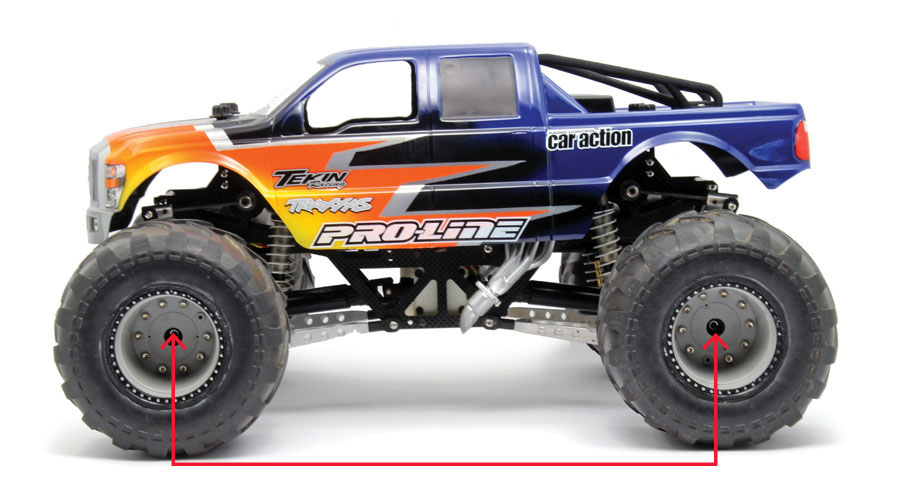
This adjustment alters the distance between the center of the tires/axles when looking at the side of the truck. A longer wheelbase makes the truck more stable but reduces steering. A shorter wheelbase reduces stability but improves steering. The wheelbase can be set by link length or by different mounting holes in the chassis.
Rear Toe
Rear toe is the angle of the tires on the rear axle, and this is used to adjust the rear grip of your truck. Increasing rear toe will improve rear grip, but it will reduce top speed; reducing rear toe decreases rear grip and increases top speed. Rear toe starts at zero and can be increased as much as needed.
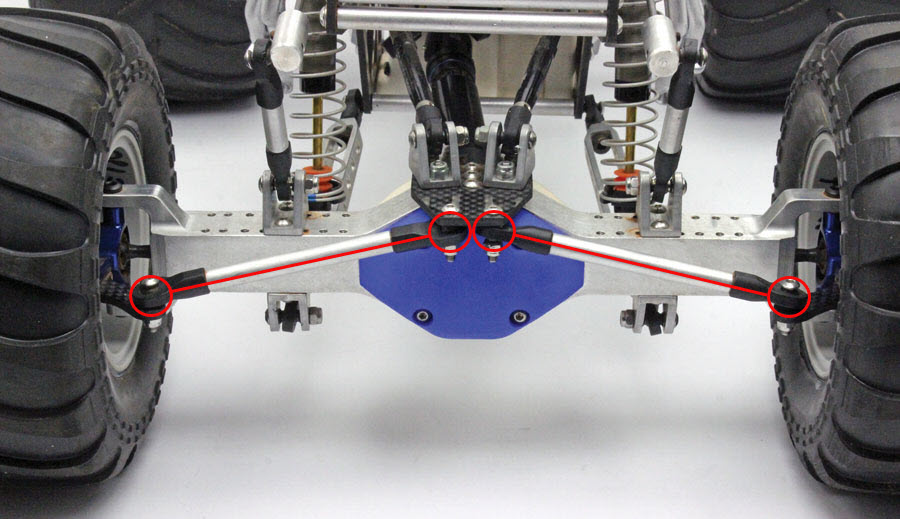
Here, rear toe is set by aluminum links. Making the links longer increases rear toe, and making them shorter reduces rear toe.
Front Toe
Front toe is the angle of the tires on the front axle. Increasing front toe will improve straight-line stability, but it reduces turning. Toe-out reduces straight-line stability but increases steering response.
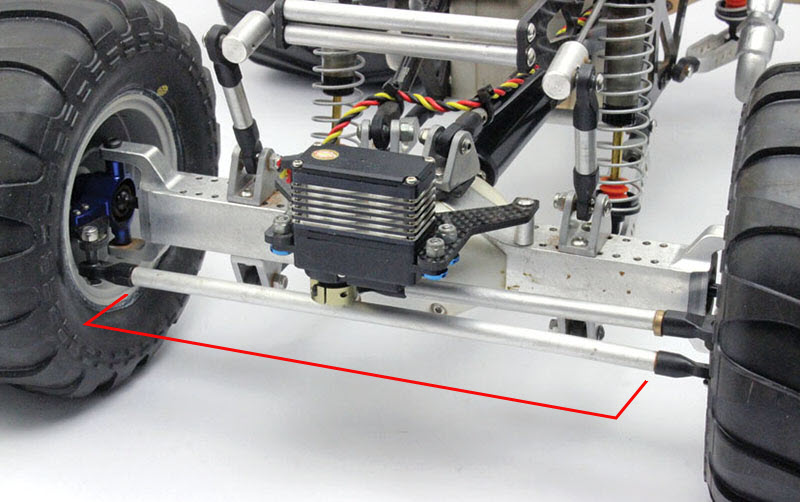
The steering link sets front toe, and it can be made longer to increase toe-out or shortened to increase toe-in.
Differentials
Some trucks offer differentials that are sealed and that allow you to adjust how well they rotate. Light fluid in the front differential improves steering response into corners, but it can make for an inconsistent feel on bumpy or loose surfaces. Increasing the fluid thickness in the front differential increases steering on power when exiting a turn. Reducing the thickness of the fluid in the rear differential increases traction in the turns; increasing the thickness of the fluid in the rear differential decreases rear traction when turning. Not all differentials are sealed, and the ones that aren’t can still be tuned but the adjustment range is limited. Various thickness of grease can be used to do some tuning in this situation.
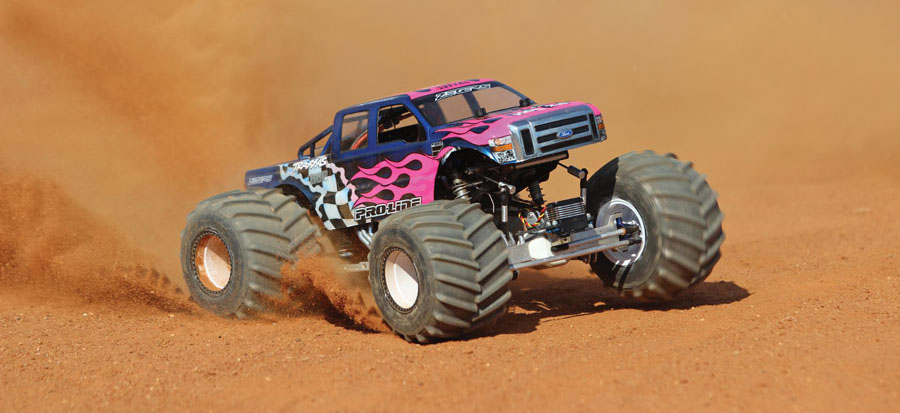
Diff fluid that’s too light will allow the outside tire to spin too much and cause erratic performance.
Shock Position
There are three mounting positions for the shocks on a solid-axle monster truck: on the axle, the lower links, and the cantilevers. An axle-mounted shock is the most realistic position but the least adjustable, and travel is limited by the length of the shock. Mounting the shocks on the lower links gets their weight as low as possible, provides more mounting positions, and is able to provide increased suspension travel. Cantilever-mounted shocks often increase travel, but their weight is much higher—overall weight is increased due to the amount of linkages and so on needed to make them work—and there are more possibilities for failure. Moving shocks that are mounted on the lower links toward the chassis softens the feel of the oil and springs, and increases suspension travel; moving them out stiffens the feel of the oil and springs, and reduces suspension travel. The same happens when moving the link or shock position on a cantilever. Moving the link away from the pivot or the bottom of the shock toward the pivot will soften the feel and increase travel, and moving the link toward the pivot or the bottom of the shock away from the pivot stiffens the feel and decreases travel.
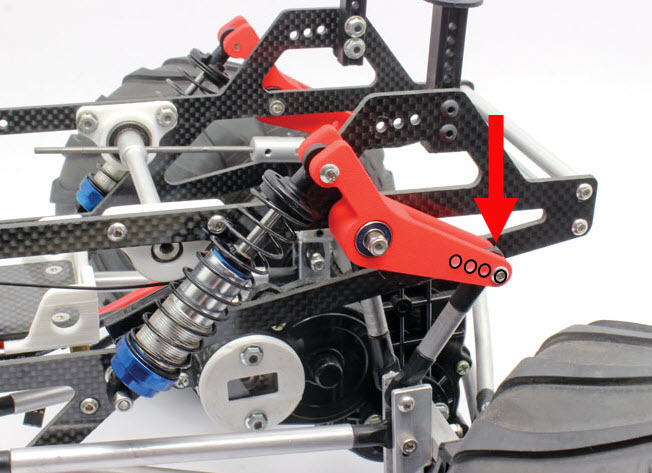
Shocks can be mounted three different ways on a solid-axle monster truck. In this case, they are attached to a cantilever.
Shock Angle
Shock angle happens at the top of the shock, and the mounting position on the chassis alters this. A shock that is vertical will have the same feel from the beginning of the stroke to the end. The more you angle the shock, the softer it feels during the initial compression, but as the shock is compressed, the stiffness of it increases. The more the shock is laid down, the softer it feels and the longer it takes to “stiffen” as the suspension is compressed.
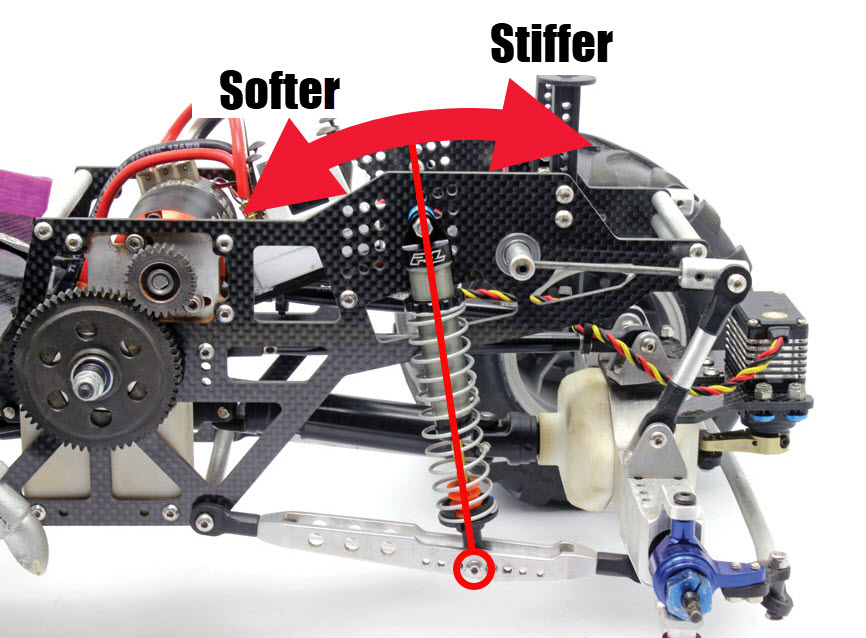
Standing the shock straight up will give it the same feel throughout the compression stroke. Angling the shock will soften the feel at first, but it will firm up as it’s compressed.
Suspension Travel
Increasing the suspension travel improves ground clearance and provides a softer ride when soaking up bumps and jumps, but too much travel can make the truck unstable. Less travel decreases ground clearance and makes for a bouncier ride on bumpy surfaces and off jumps, but it increases stability.
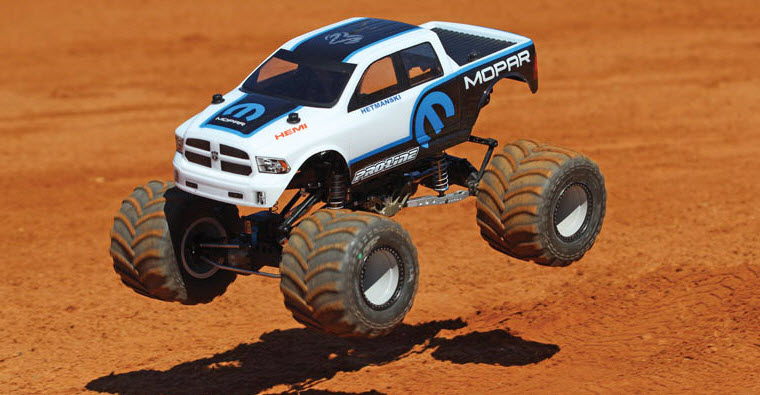
A lot of suspension travel is great for soaking up the landings after large jumps.
Shock Oil & Springs
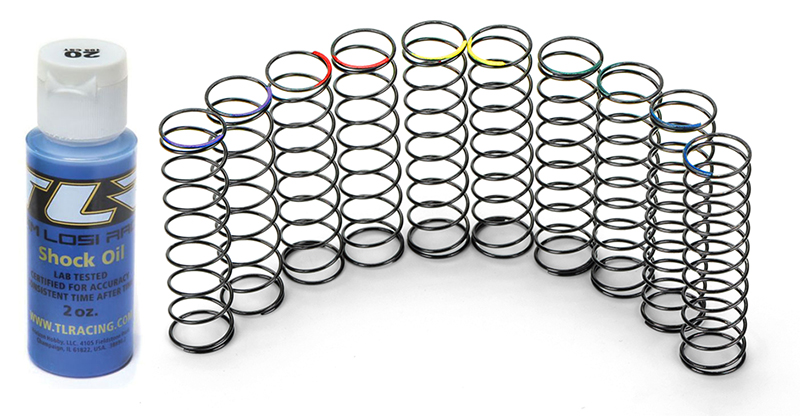
Shock damping is controlled by the shock oil and piston inside. The easiest way to adjust this is by changing the thickness of the oil, but damping can also be altered by changing the shock pistons. Thicker oil slows down the shock (makes it firmer), while thinner fluid speeds up the shock (makes it softer). The range for a solid-axle monster truck can go from as low at 10wt to as high as 30wt. A piston with small/few holes slows down the shock, while larger/more holes speeds up the shocks. A soft shock allows weight to transfer more easily and increases grip, while a stiffer shock reduces weight transfer and decreases grip. So altering the rear shock can increase or decrease rear traction under acceleration, and a change in the front shocks increases or decreases front grip during braking.
The springs support the weight of the chassis, and the tension of those springs controls how much of the truck’s weight is transferred to the front and rear of the truck. It also controls how fast the shock rebounds. A light spring is better on bumpy surfaces and increases traction, but the chance of bottoming out a shock is greater. A stiffer spring is best for smooth surfaces and decreases traction.
Ride Height
Increasing ride height provides more ground clearance but raises the truck’s center of gravity. A lower ride height offers less ground clearance and lowers the truck’s center of gravity. A higher center of gravity allows more weight to transfer, which increases the overall traction the truck, and decreasing the center of gravity lowers overall traction. Raising the front more than the rear increases weight transfer (and, therefore, traction) to the rear when on power, but it decreases front traction. Raising the rear more than the front increases weight transfer to the front when braking but decreases rear traction under acceleration.
Weight Distribution
Weight distribution has to do with where the weight is located on your truck. Left-to-right weight is generally centralized, and that will make the truck feel the same when turning right or left and the truck won’t twist when jumping. Equal front-to-back weight makes the feel of the truck neutral. Increased front weight improves front traction but will make the truck nose-heavy in the air; increased rear weight improves rear traction and will make the truck jump nose-high. Getting the front-to-rear weight as close to the center as possible improves how responsive the truck is in the turns, but it decreases traction; weight mounted away from the center slows down how quickly the truck pivots in the turns and increases traction. Keep in mind that the weight balance in the chassis is different from the overall truck because the axle-mounted steering servo is increasing the weight of the front axle (unsprung weight), not adding weight to the front of the chassis (sprung weight).
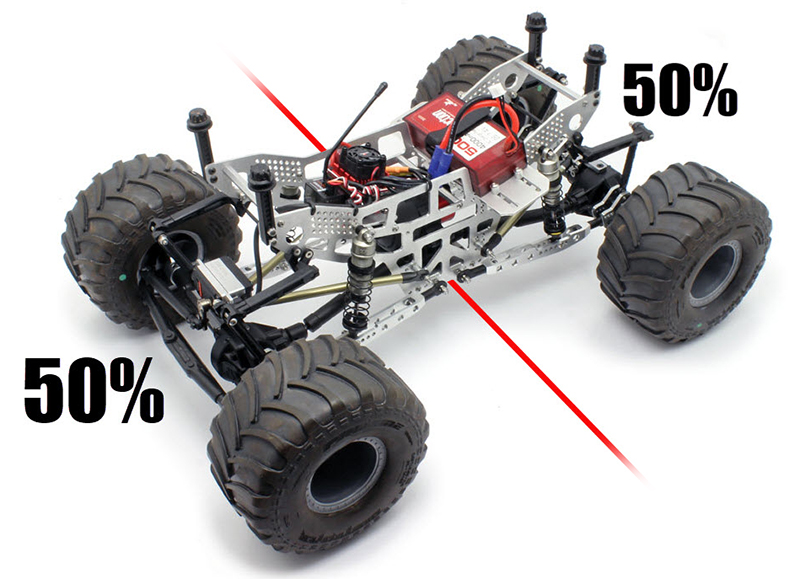
Make sure you take the weight of the steering servo into consideration when setting up the balance of your truck. The weight balance in the chassis is different from the overall balance of the truck.
Upper-Link Position
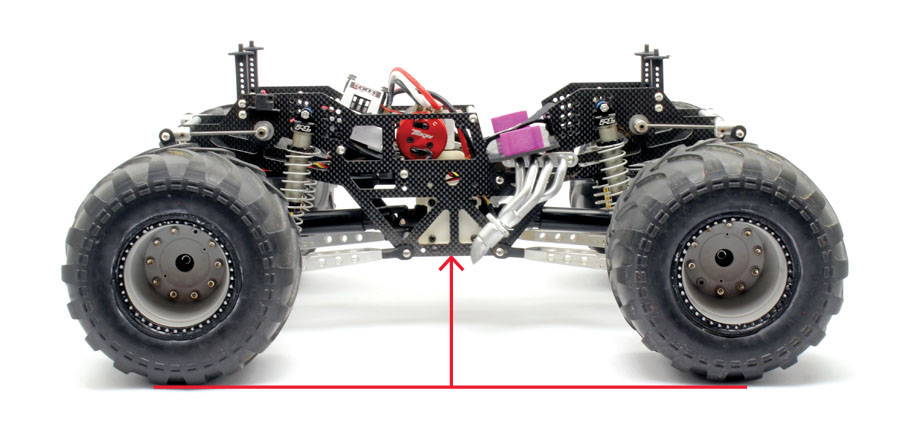
Upper-link position is how high or low the upper link is mounted on the chassis. The front link is never moved, while the rear starts with the upper and lower links parallel to each other. This gives the truck maximum rear grip under acceleration. Lowering the upper link reduces rear grip.
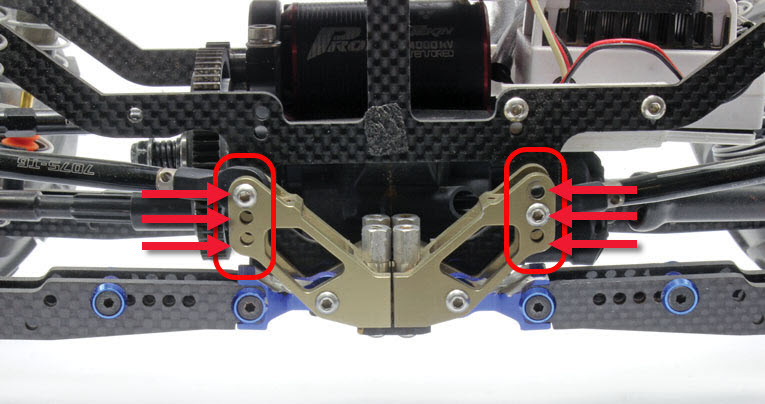
There are usually multiple positions available for the upper links. Raising them increases traction, and lowering them decreases traction.
Tire Spacing
This is the side-to-side distance between the two tires. A wide truck is more stable, while one that is narrower is less stable. A truck that’s too wide may have a problem getting through tight areas on a track on in the backyard.
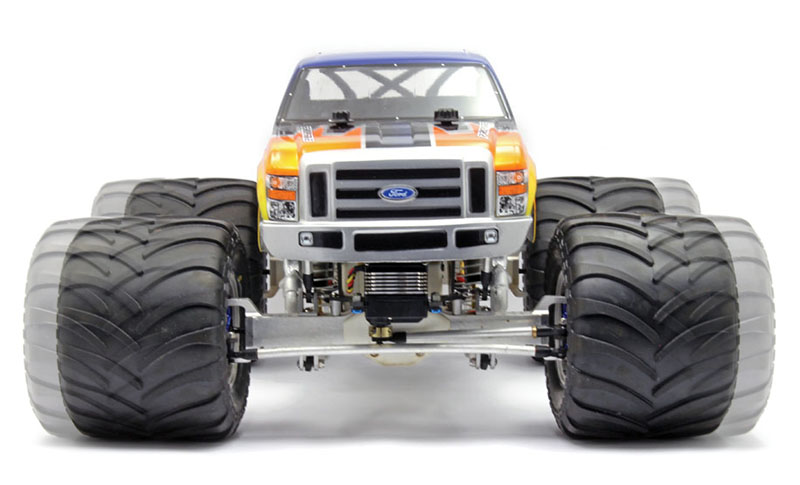
Making the truck wider by spacing out the tires will improve stability, but the vehicle may have a harder time getting through tight areas.
Swaybars
The swaybar controls how much the chassis sways from side to side. A light swaybar allows more weight to transfer, which increases traction in the turns, while a stiff swaybar reduces weight transfer and decreases traction in the turns.
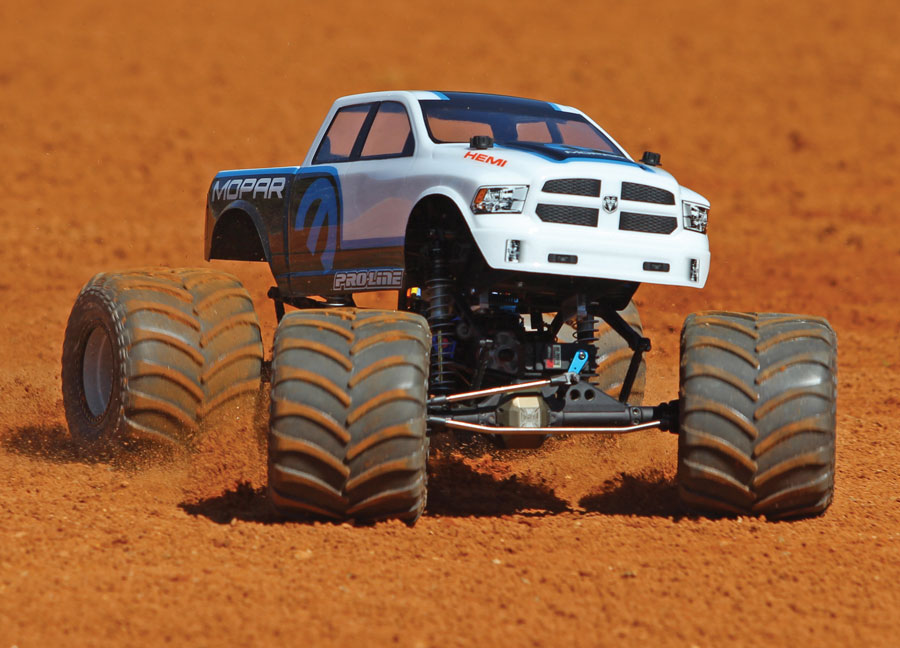
A swaybar does most of its work in the turns, and it controls how much weight is shifted from one side to the other.
Final Word
You now have the tools you need to get the performance of your solid-axle monster truck as good as it can be. Remember that there’s no magic setup that will work in all conditions, but you can take what you learned here to put a basic setup on your truck before heading to the track. You can then make minor tweaks as needed. –Kevin Hetmanski
The post Crush the Comp: Here’s How to Set Up Your Solid-Axle Monster Truck appeared first on RC Car Action.

